

Vibe code a high-fidelity app in 30 mins.
A beginner friendly workflow to vibe code an entire app from scratch.

Before we begin.
Every time we do a buildathon, we see at least one member building a voice agent for India. Their first blocker? Finding an AI model that handles Indian languages fluently, including mid-sentence switches between English & Hindi (or other Indian languages).
Over the past few weeks, we partnered with the Sarvam team to find the right solution. Starting today, GrowthX members get $1,000 in Sarvam API credits. That’s access to some of the best models available for transcription, translation, and conversation across 22+ Indian languages.
Want them for yourself? Become a member now.
Today’s edition.
Last week, we showed you how to build a mini-app with Opal — but the UI was chat-based. Great for an MVP, not quite ready for a finished product.
Turns out Google has a solution for that, too. It’s called Stitch, and it’s built specifically for prototyping feature-dense UIs. In this edition, we’ll show you how to go from zero to a polished, element-rich interface in 30 minutes.
But first, what is prototyping? Is it different from building a real app?
Think of a prototype like an architect’s construction documents: a concrete, interactive plan that designers hand off to developers. It looks and behaves like the real thing, but it’s a mock-up. Meaning, it’s meant to guide the build, not be the build.
Stitch lets you create these mock-ups from scratch. So, don’t aim to refine every interaction on Stitch; your goal on the tool is to build out app screens. You can always fine-tune the interactions later when coding the project in AI Design Studio. And since both tools are free, we’ll use them together today to build an entire app from the ground up.
What are we building today?
We’re building a simple hydration tracker using Stitch. The goal? Get the user to drink at least 8 glasses of water/fluids a day.
Open a new tab now. We’re getting straight into building.
Part 1: The set-up
1. Click on this link. It’ll take you to Stitch. Here’s what you should see.
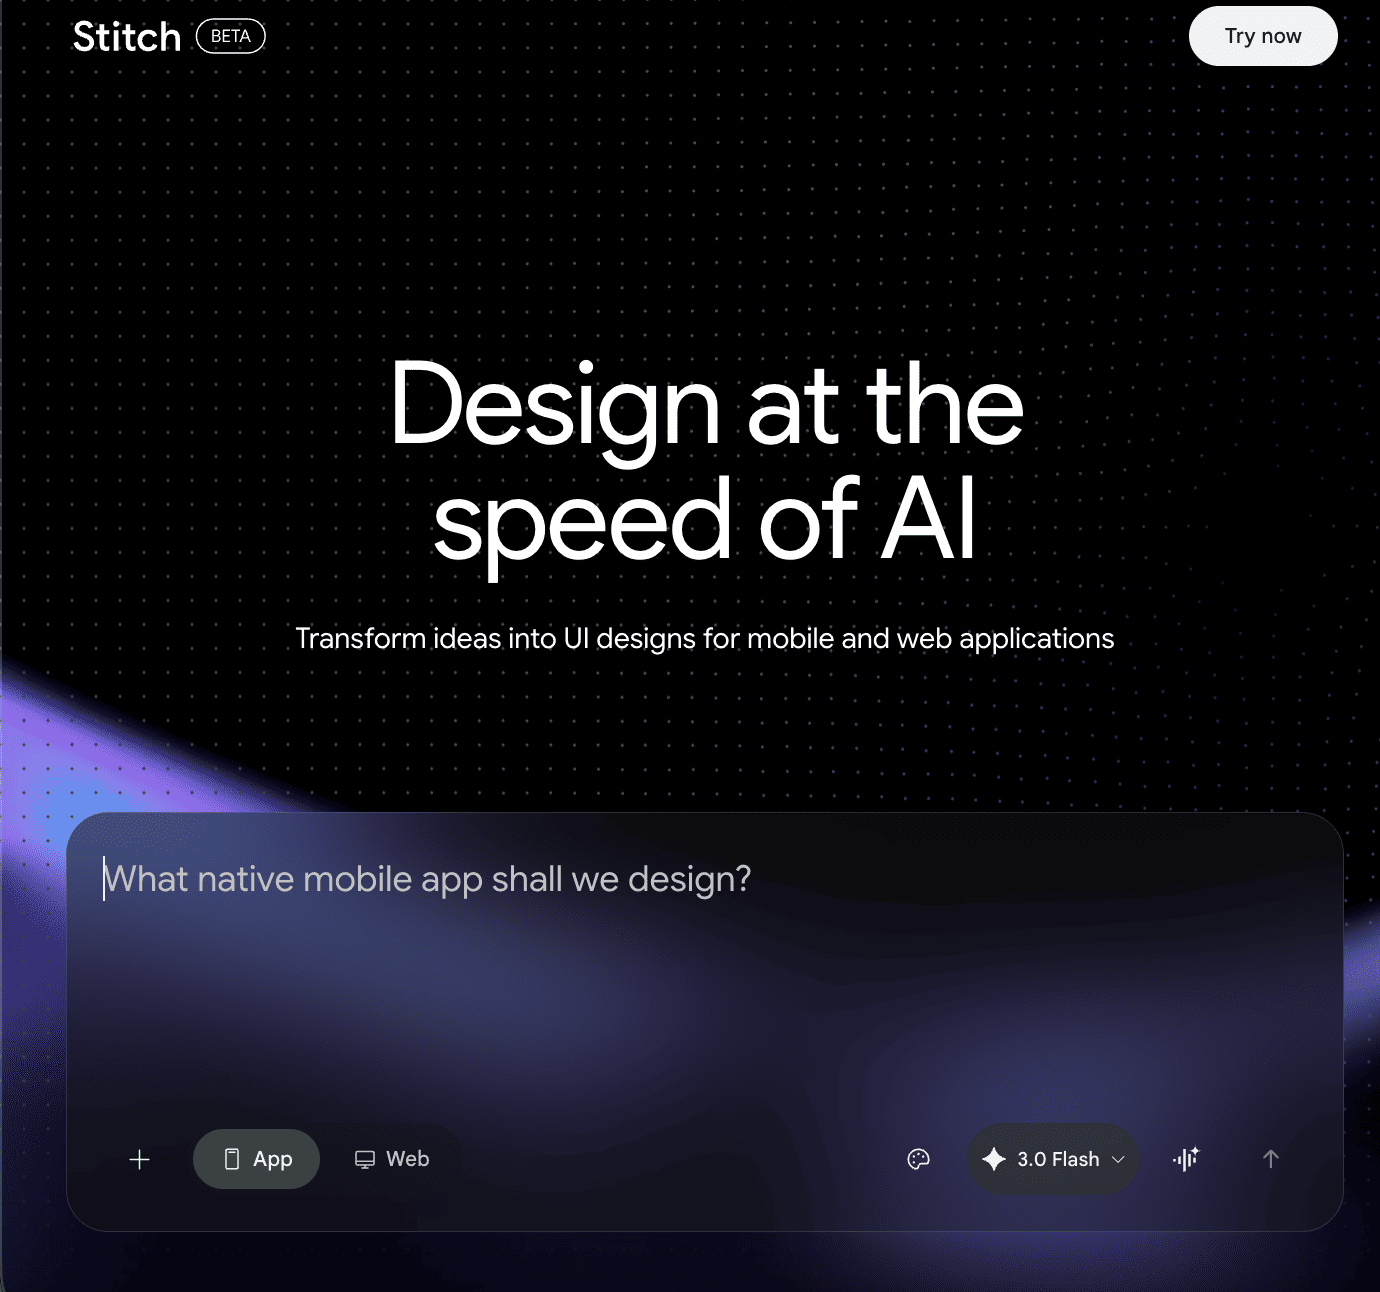
2. Click on Try Now and Sign In via your Google account.
3. You should now see the Welcome page.
Part 2: Creating the app screens.
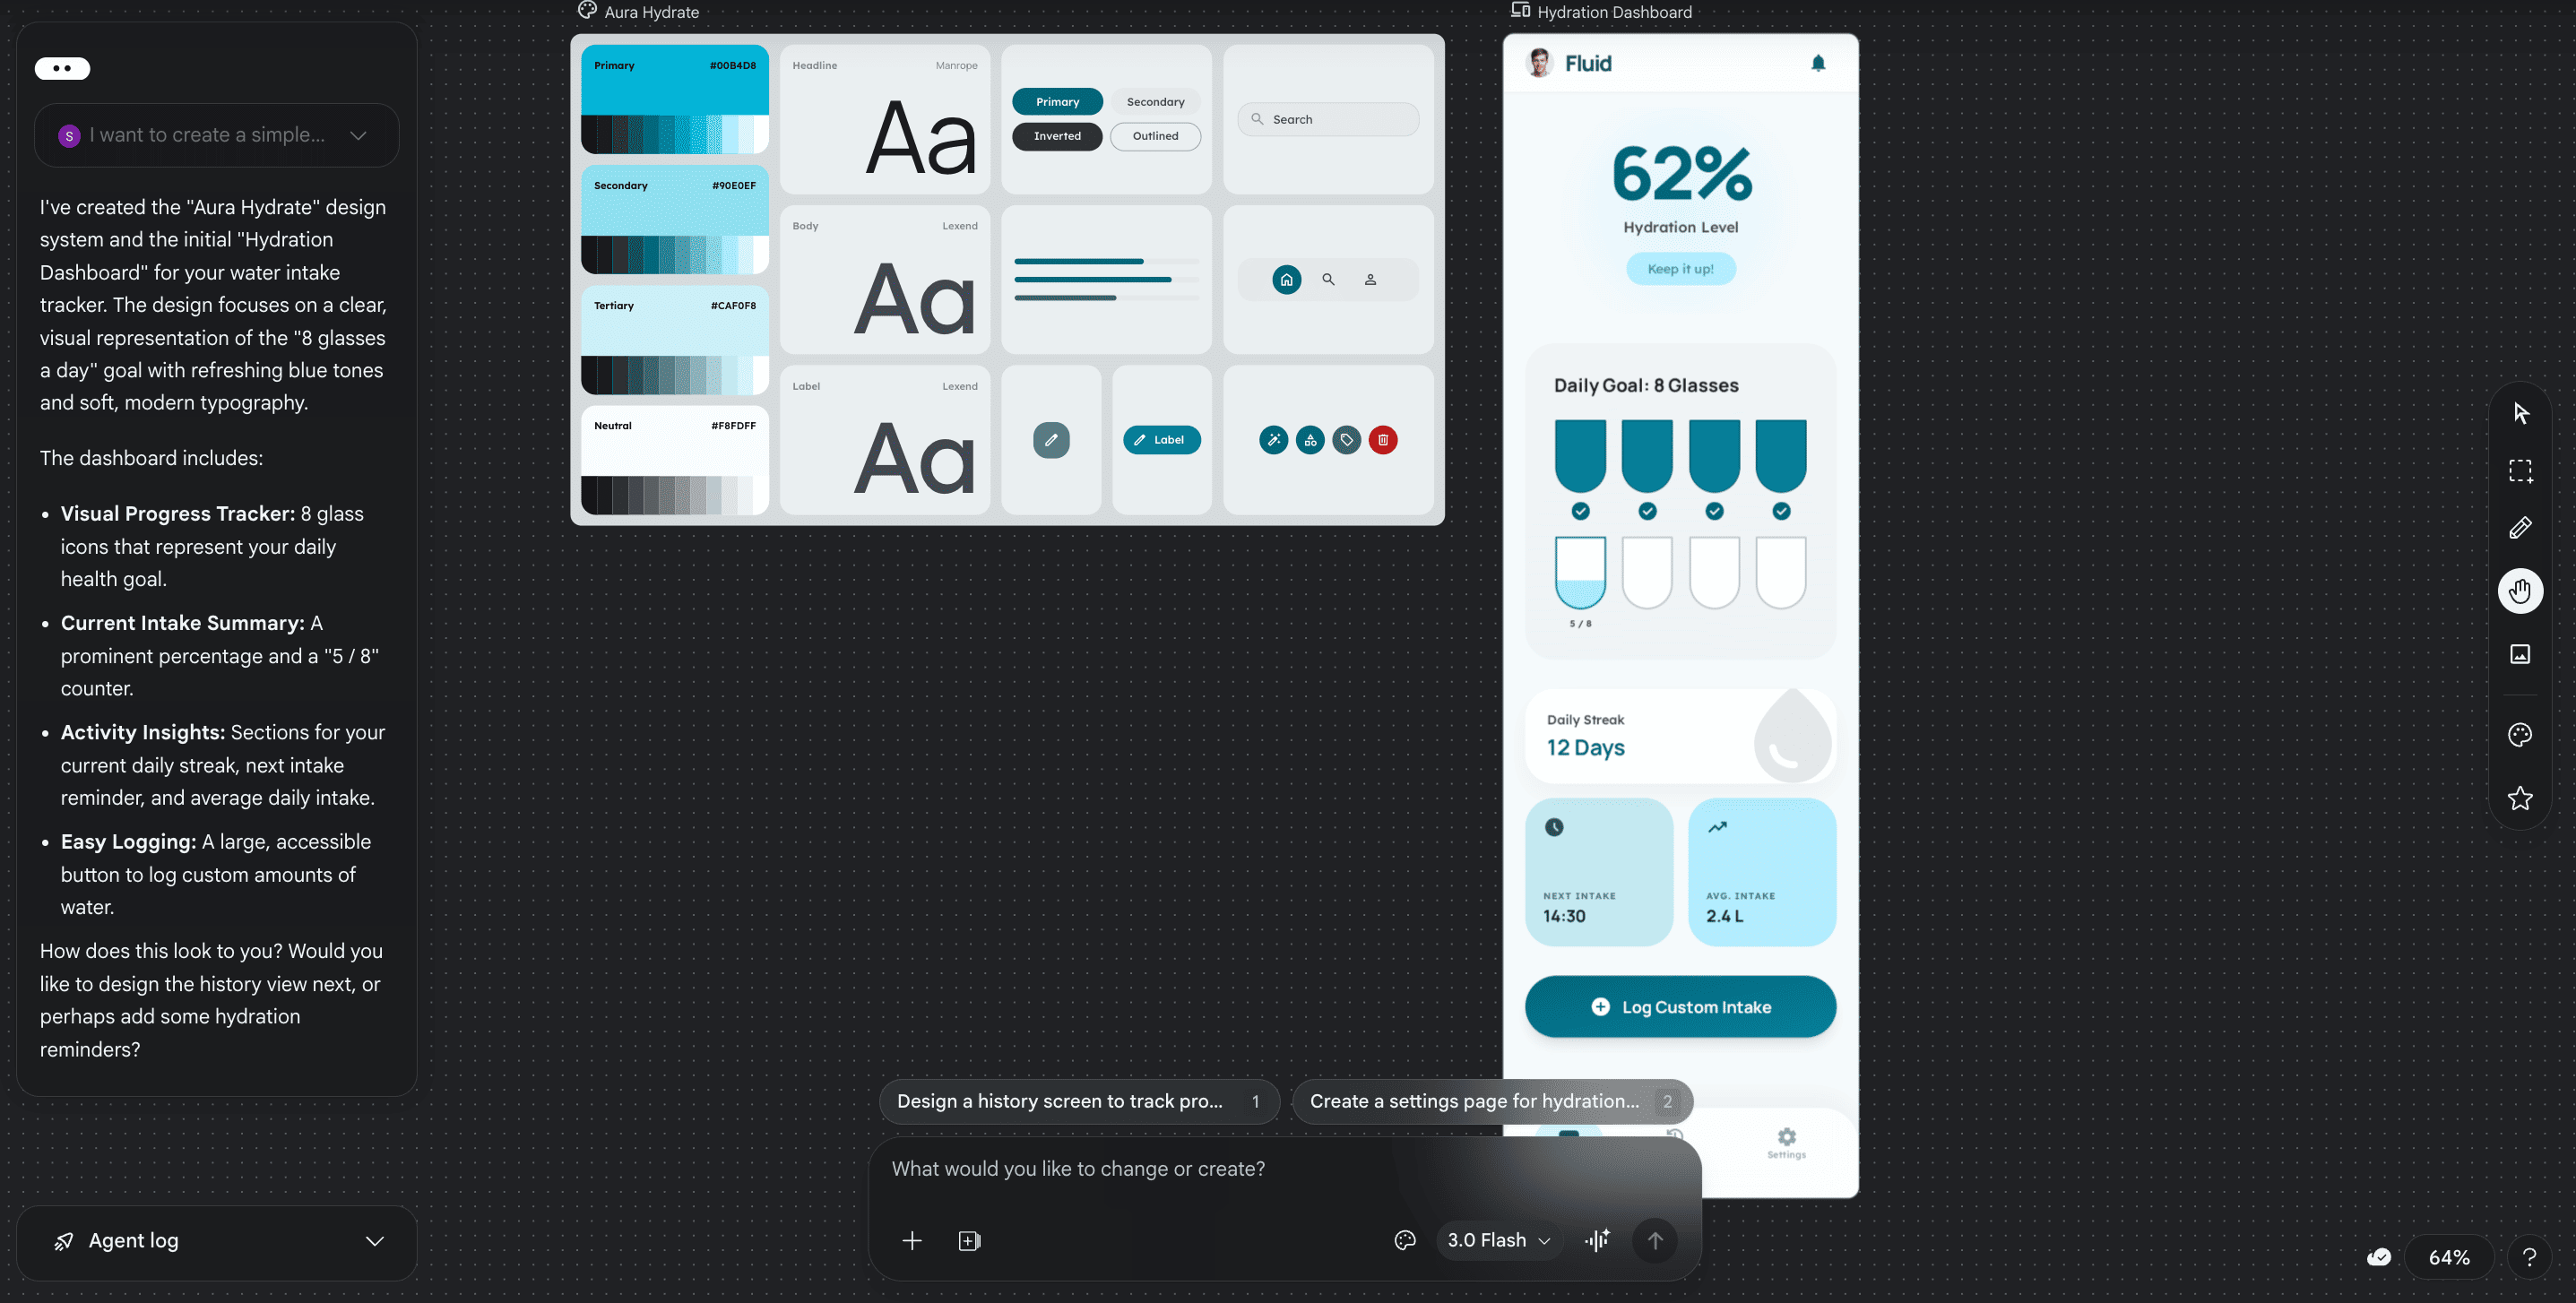
1. Enter your app idea into the chat box. Here’s what we’ll enter for the Hydration Tracker app.I want to create a simple visual water intake tracker that follows the mantra people should have 8 glasses of water a day to stay healthy.
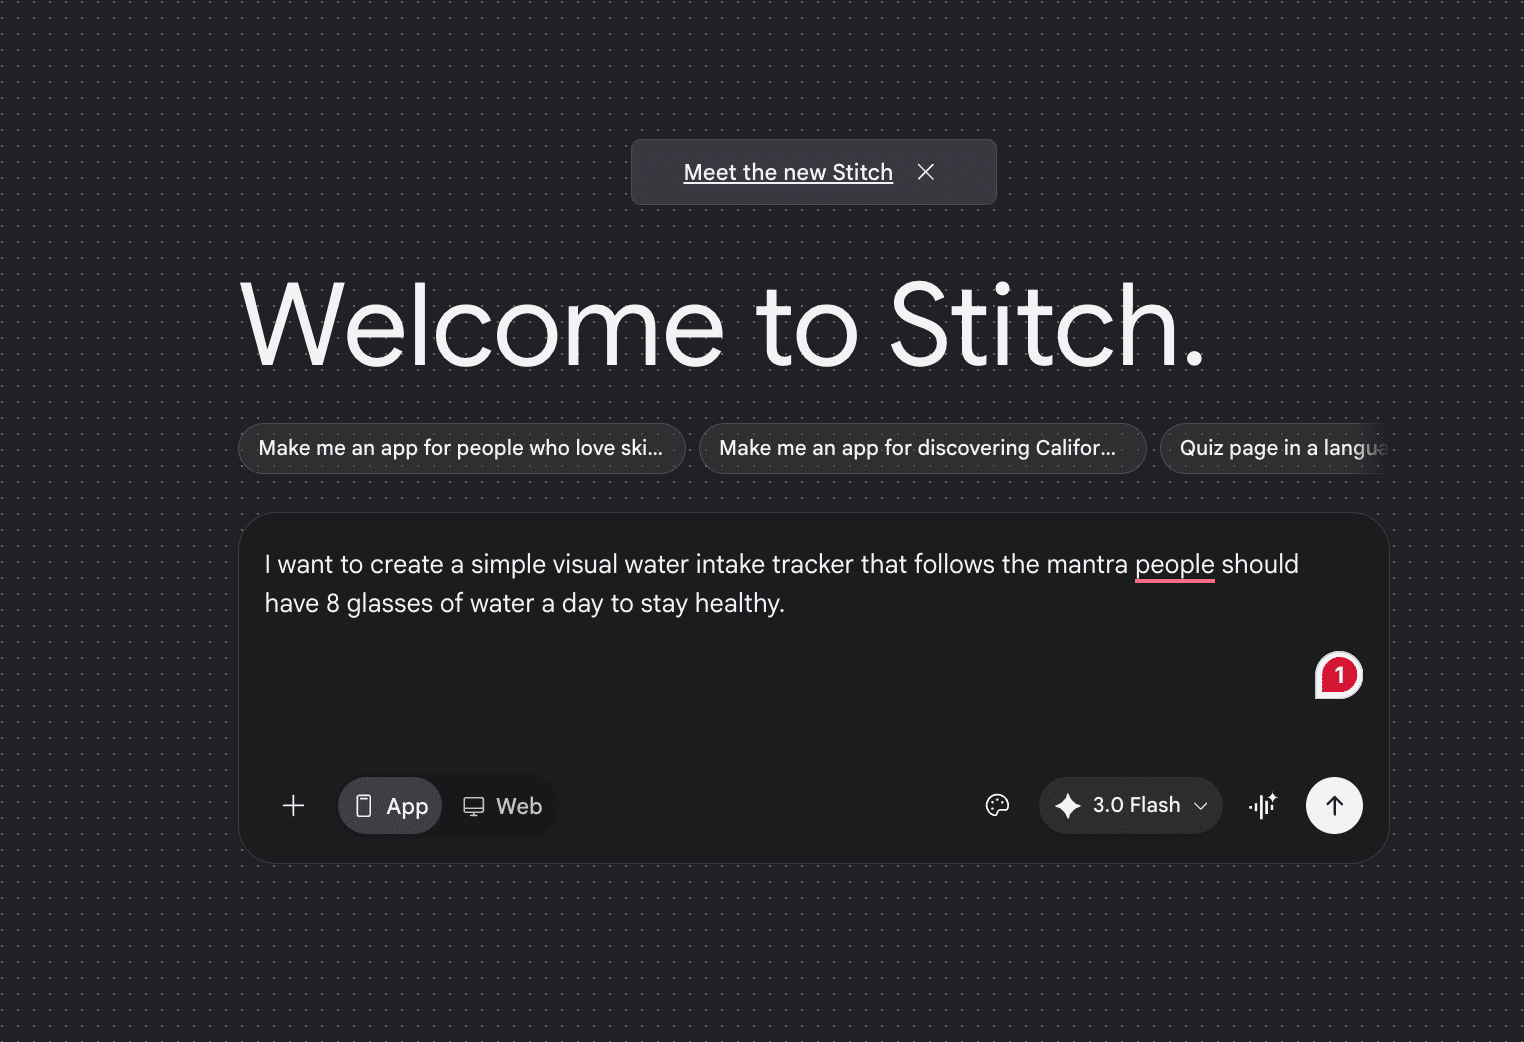
2. You’ll see Stitch use Gemini 3.0 Flash to create an entire project plan. Eventually, Stitch will generate a visual design system, including the fonts, colours, and iconography it will use to create your hydration tracker.
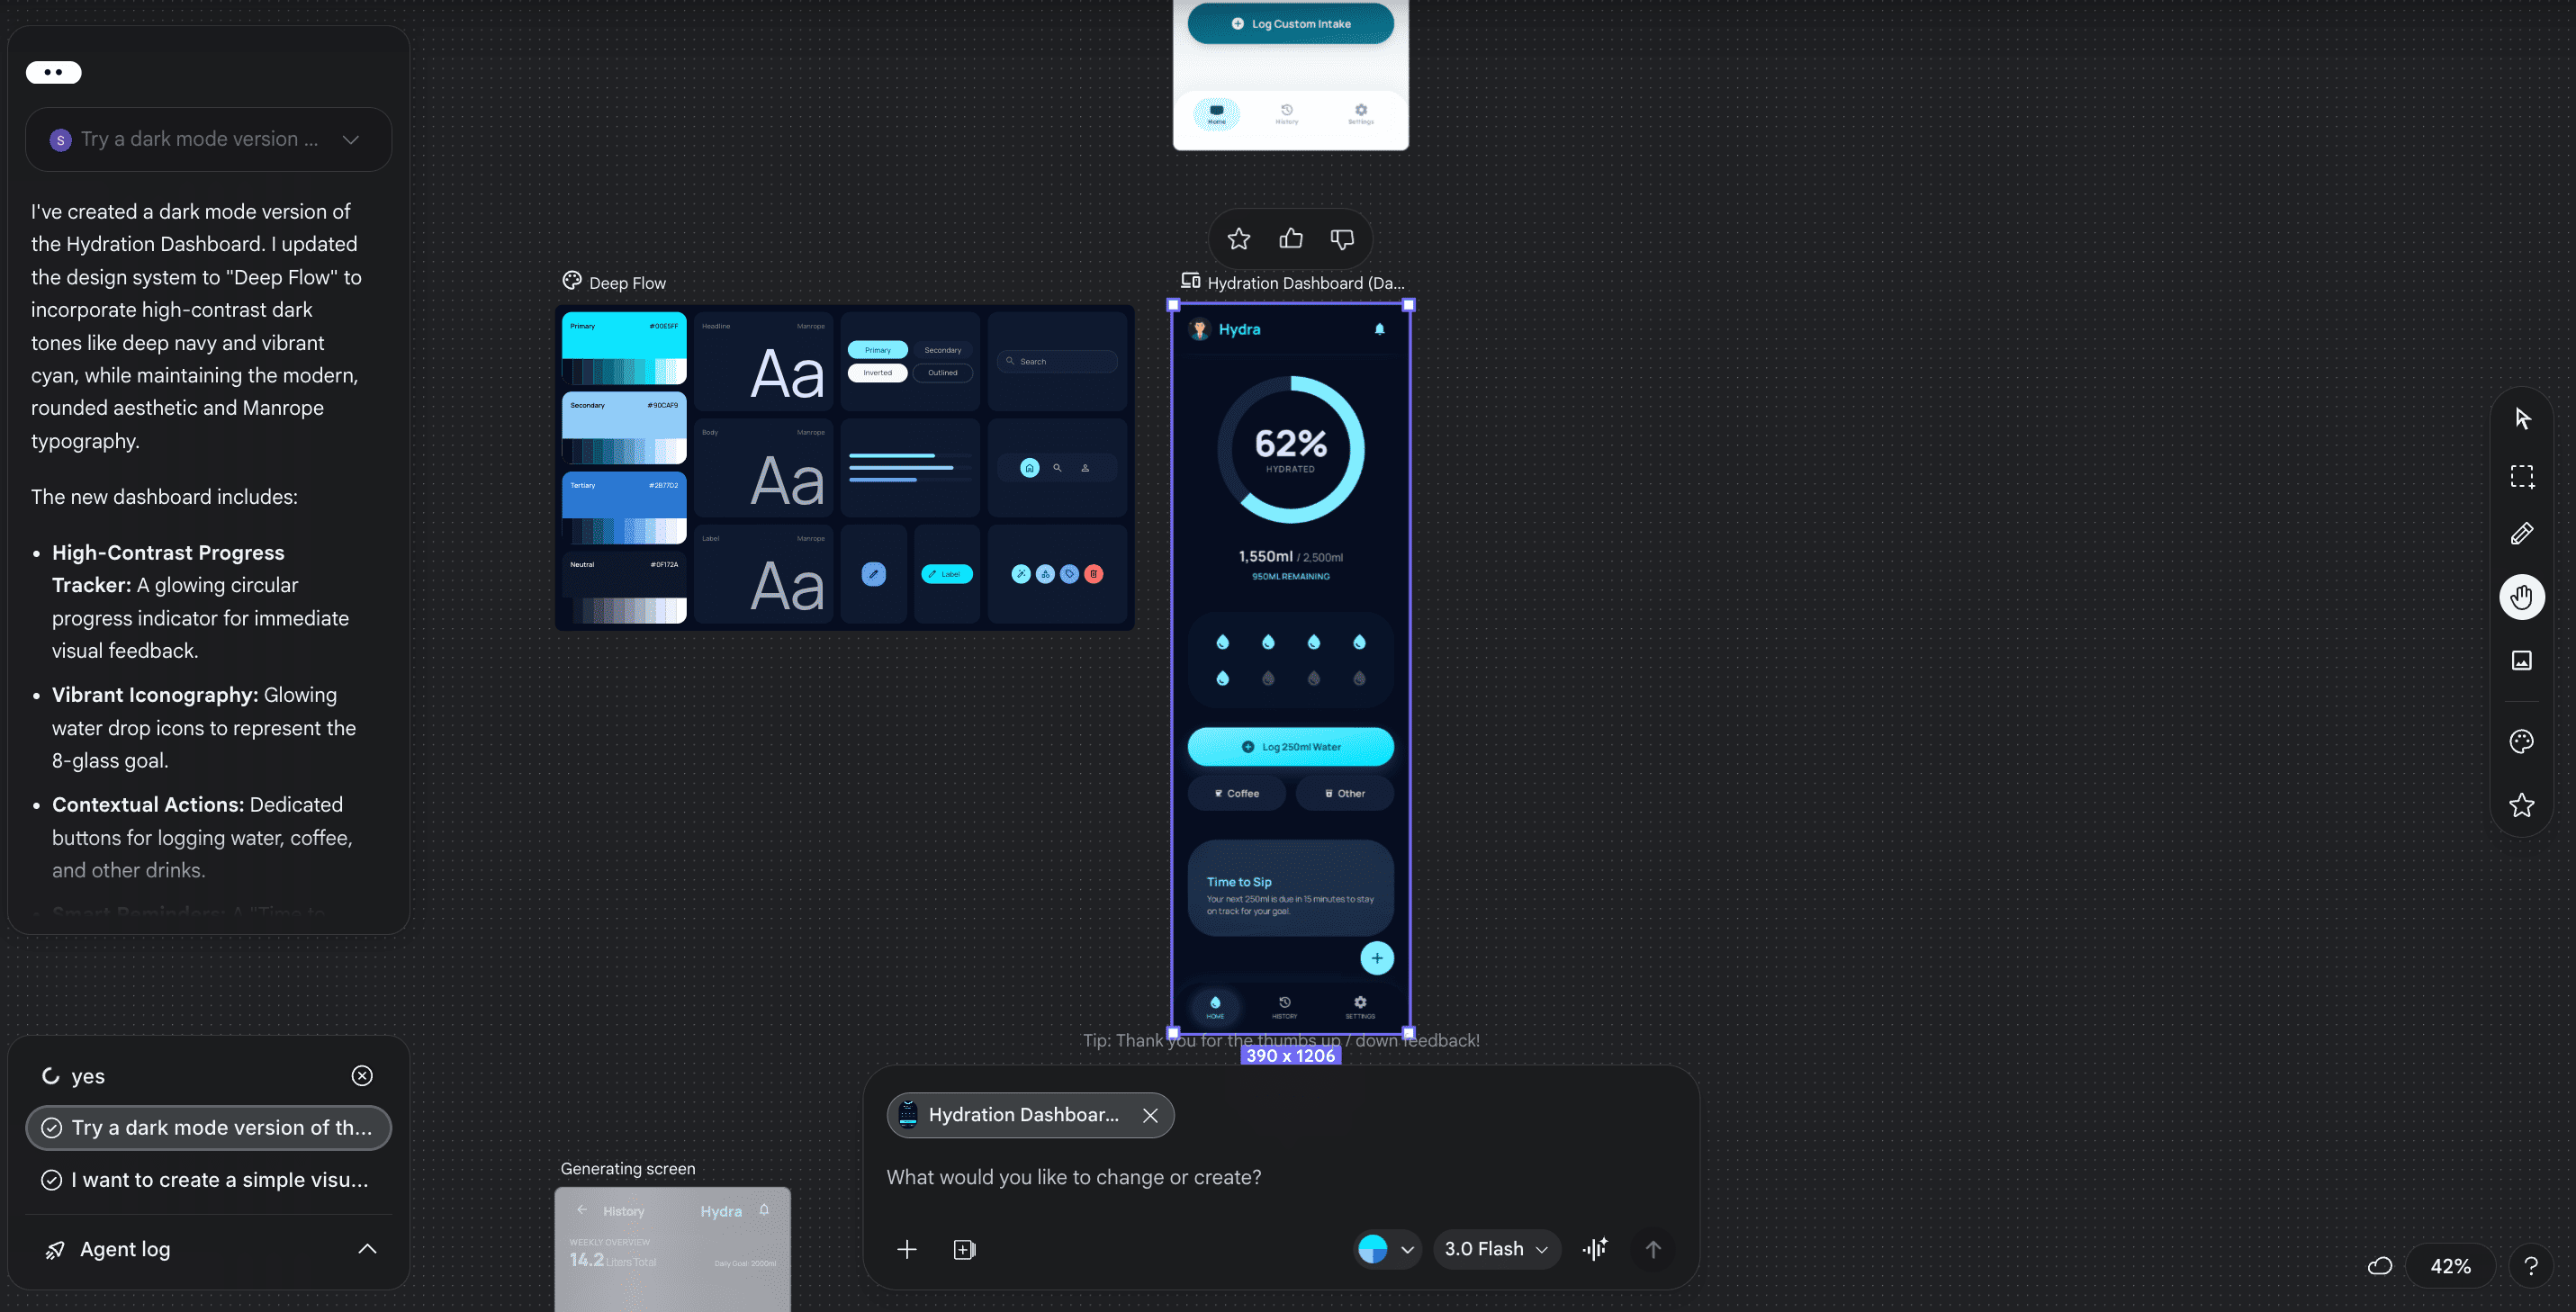
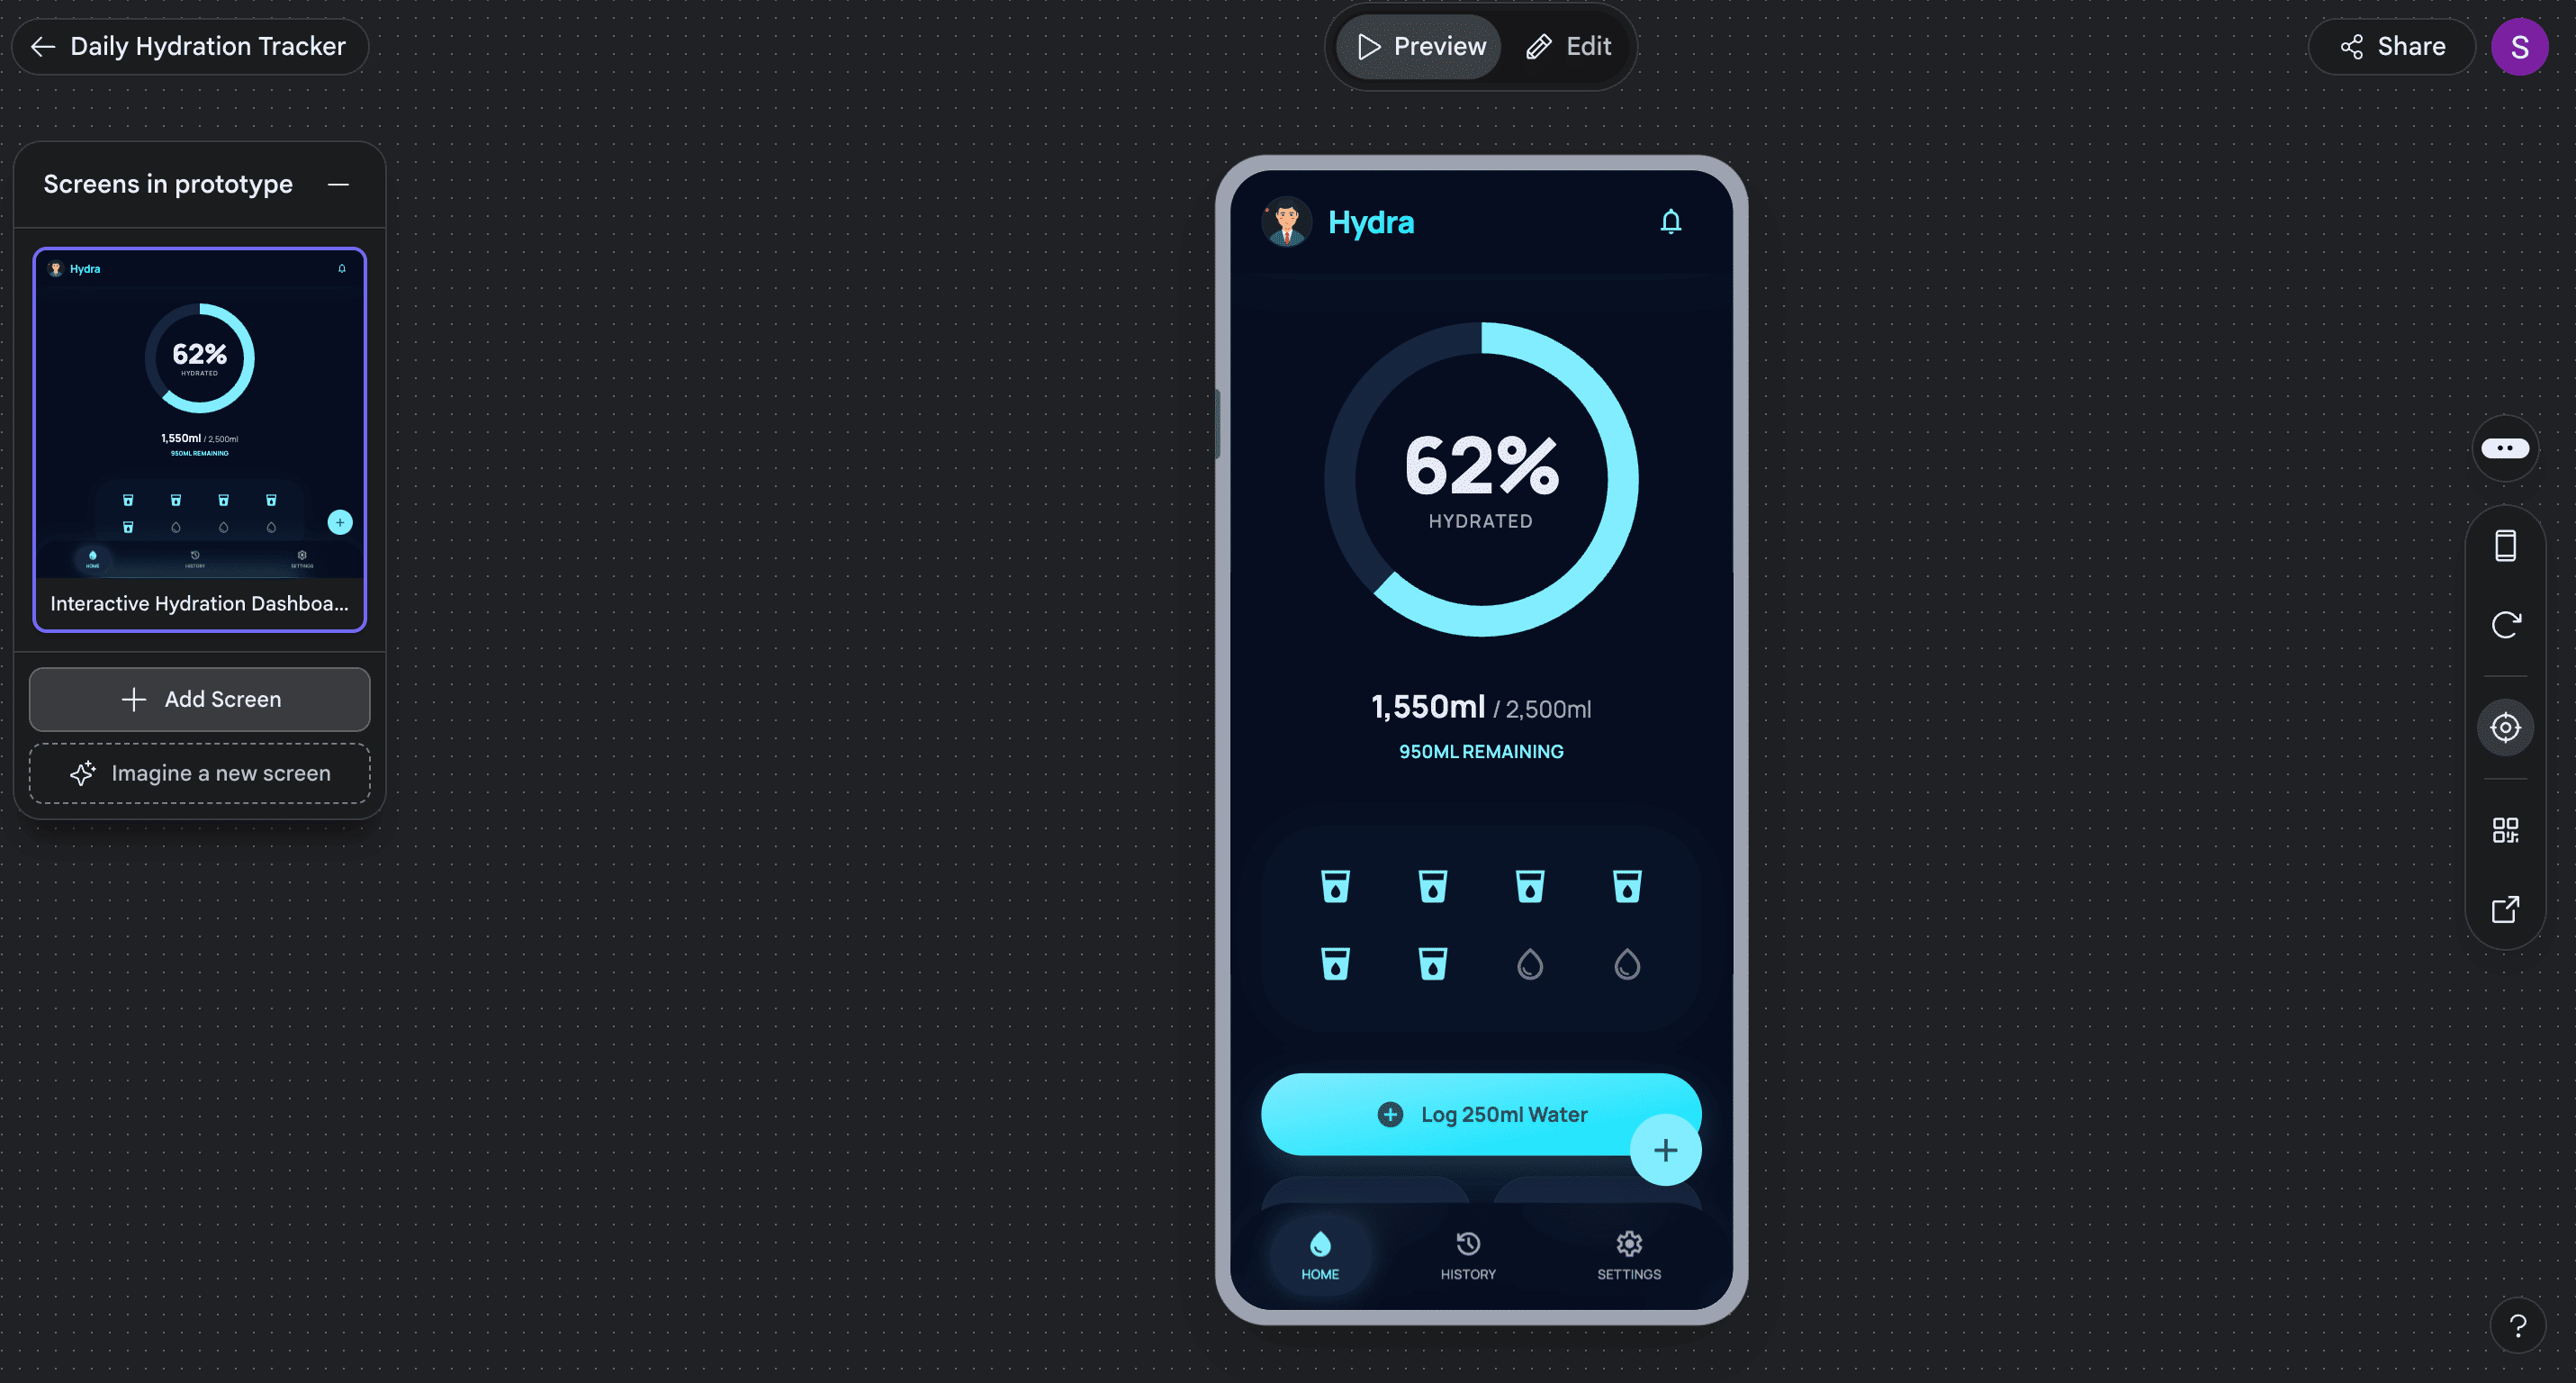
3. At this stage, give Stitch a broad idea of what you want. For this app, I requested dark mode, a circular progress tracker, and water-logging icons shaped like small droplets. My prompt:Try a dark mode version of the same app. Make the progress tracker circular. And make the water log icons shaped like droplets.
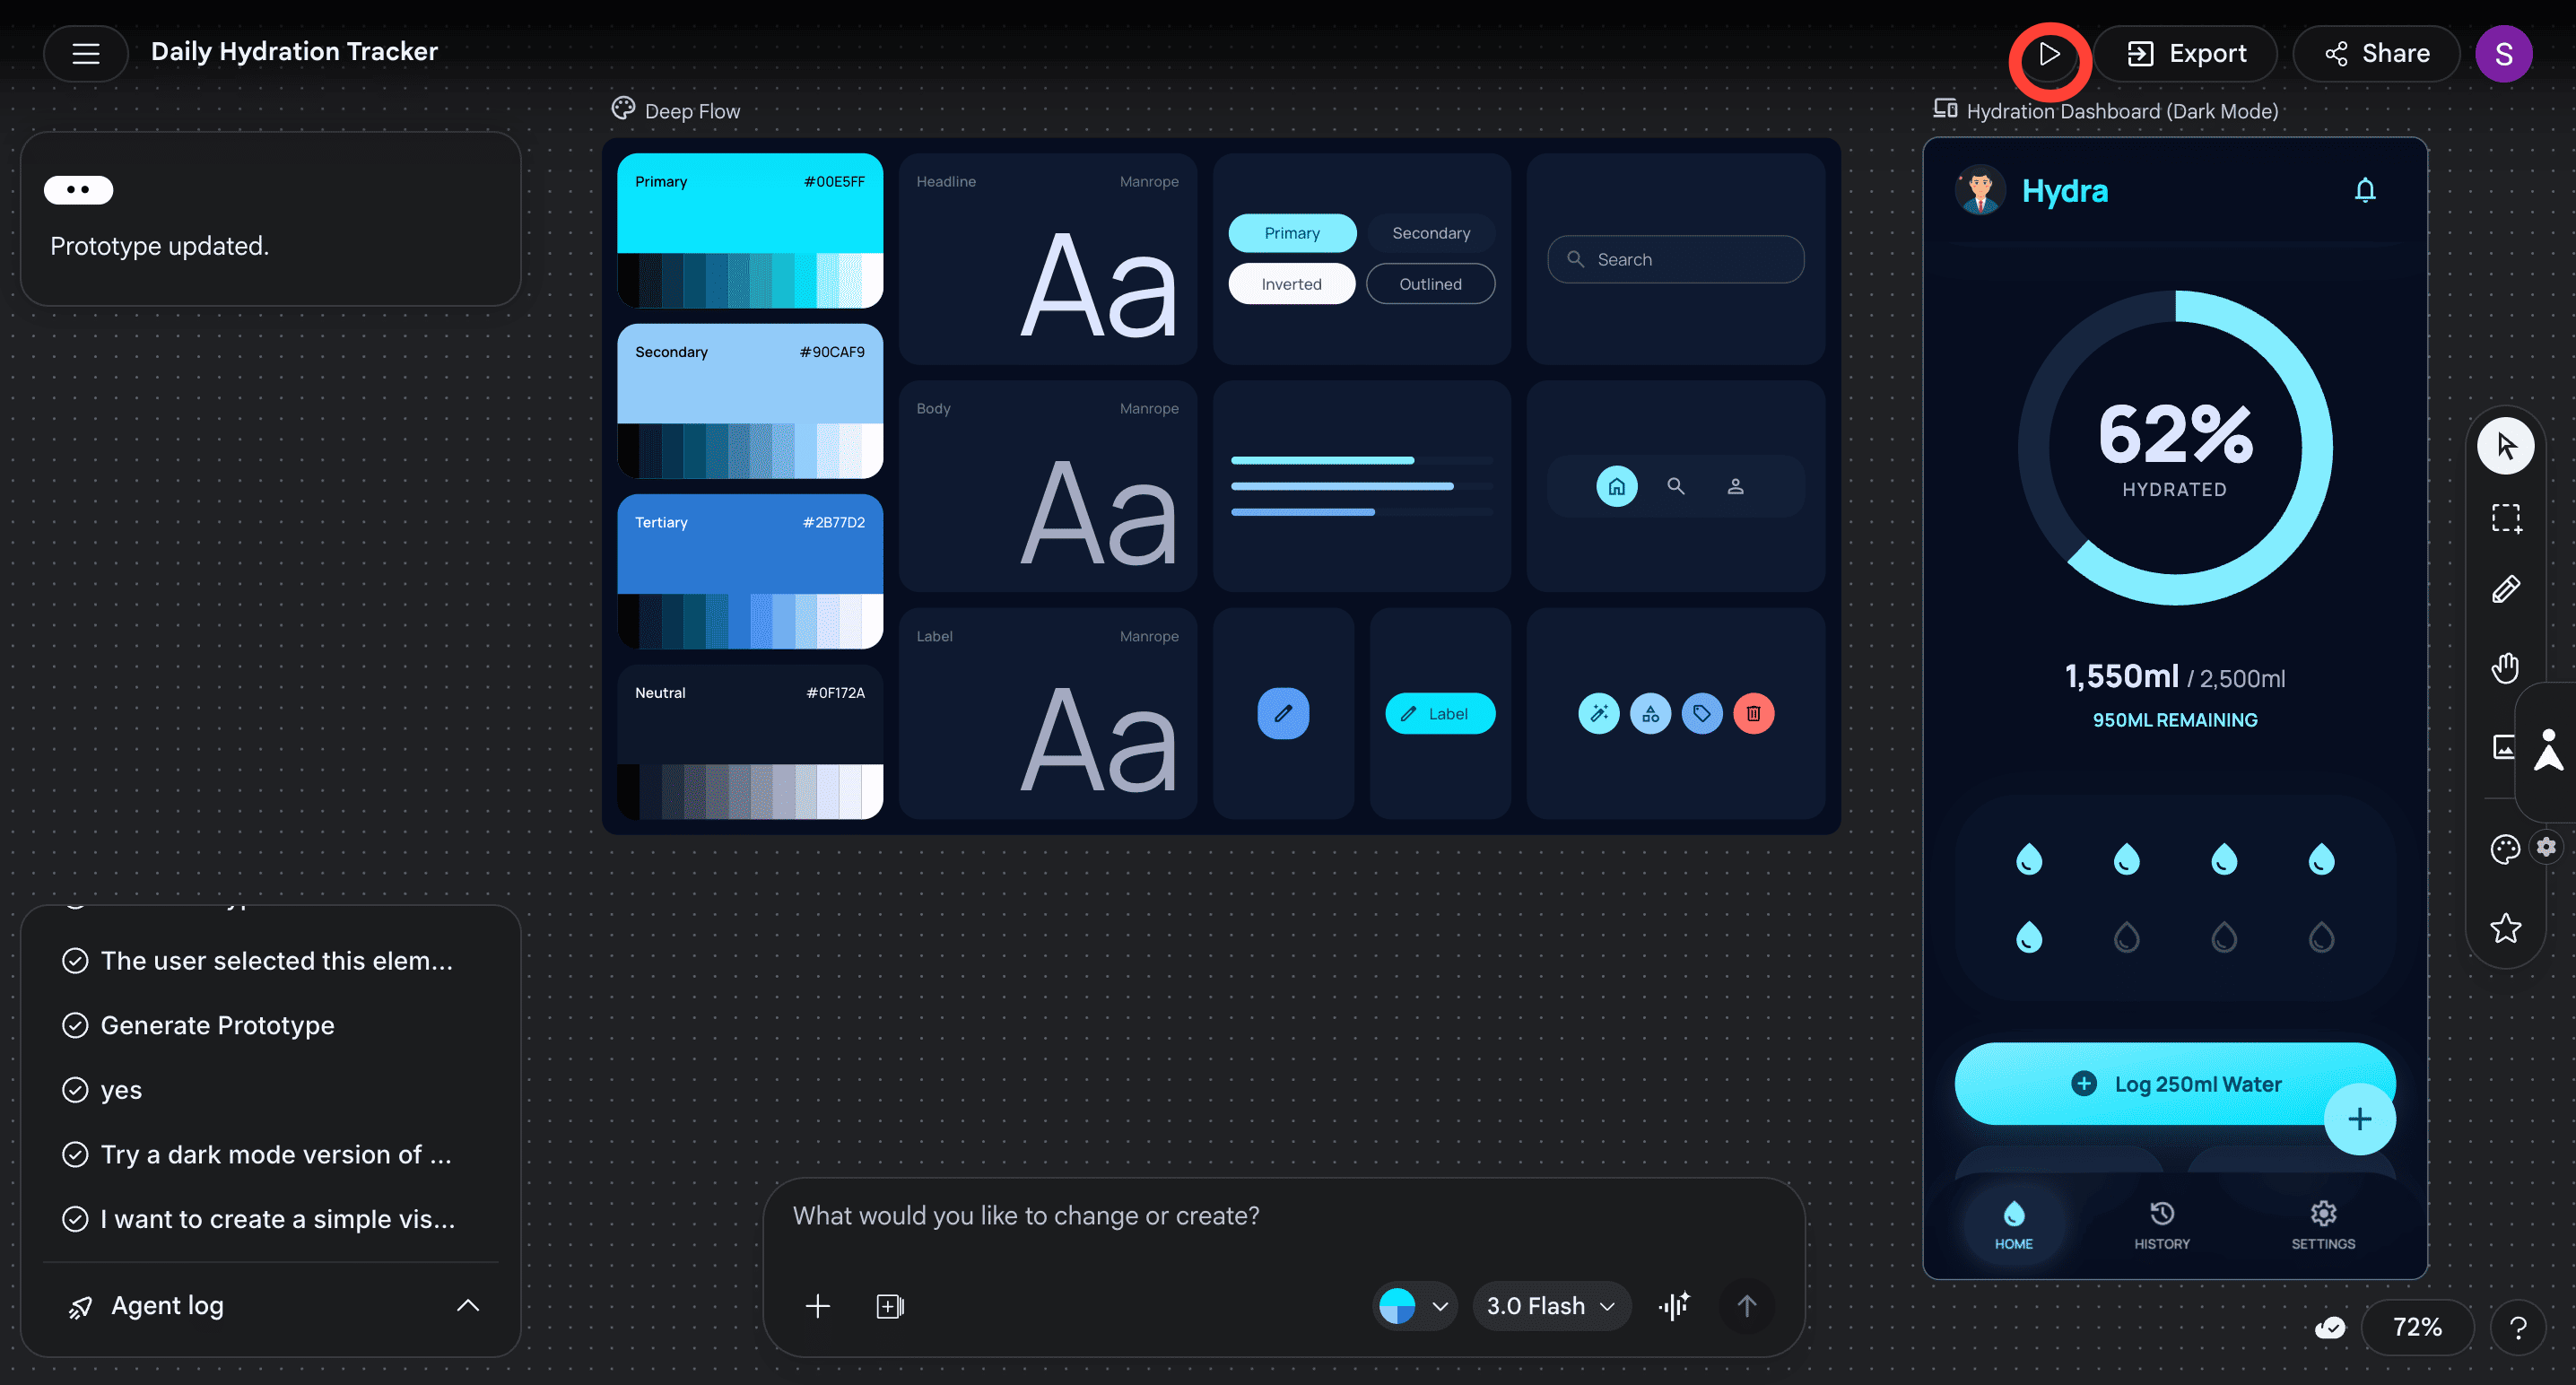
In case Stitch doesn’t make the specific changes you requested, you can go into the prototyping mode to ensure changes are implemented. To do that, select your preferred app screen, then click the Play button at the top. This creates an instant prototype of your app.
Now click on Edit. This will allow you to choose the components you want to edit.
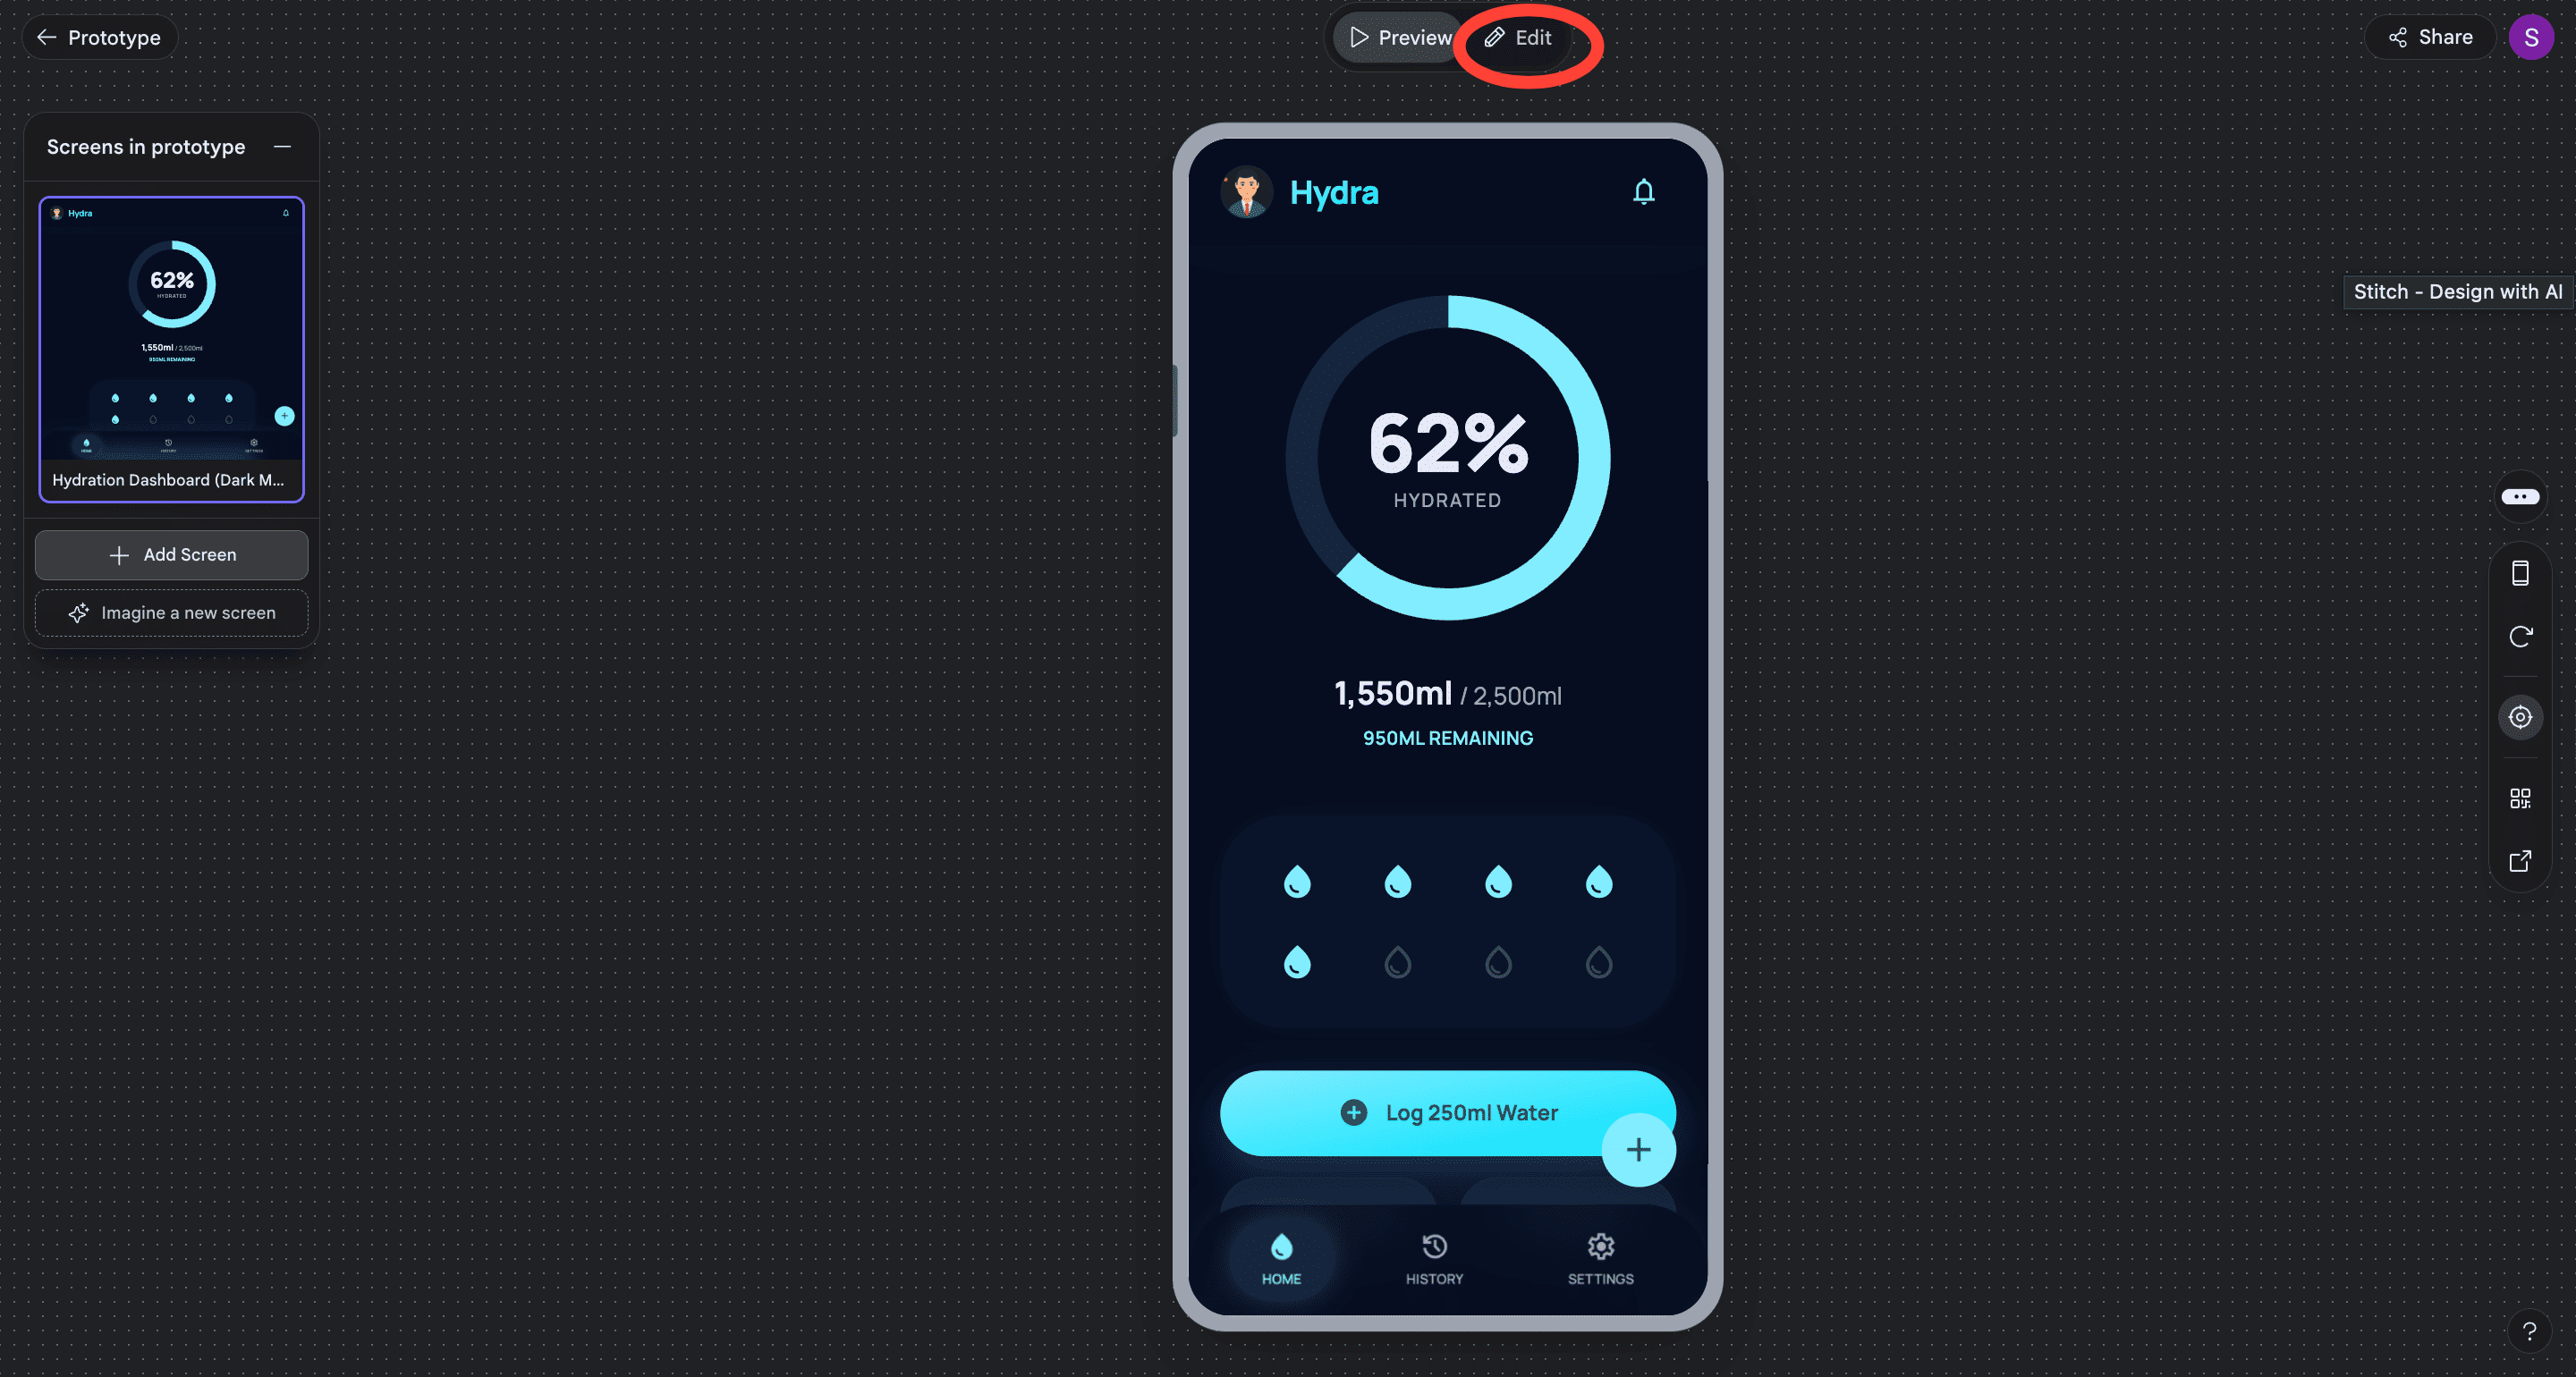
Say you want the droplet icons to turn into a glass when a user logs their water intake. Select the droplet elements, click on Change with AI.

Now enter your instruction in the chatbox below.Make the drops interactive. When a user clicks on a drop to log their water, the drop should turn into a glass.
Now, whenever a user logs water intake by clicking a droplet it turns into a glass. Similarly, you can make each button interactive.
Note: Every time you edit your prototype, Stitch creates a new screen. This new screen gets added at the bottom. Make sure to rename every screen to reflect the latest version.
Now, let’s create a new screen with Stitch.
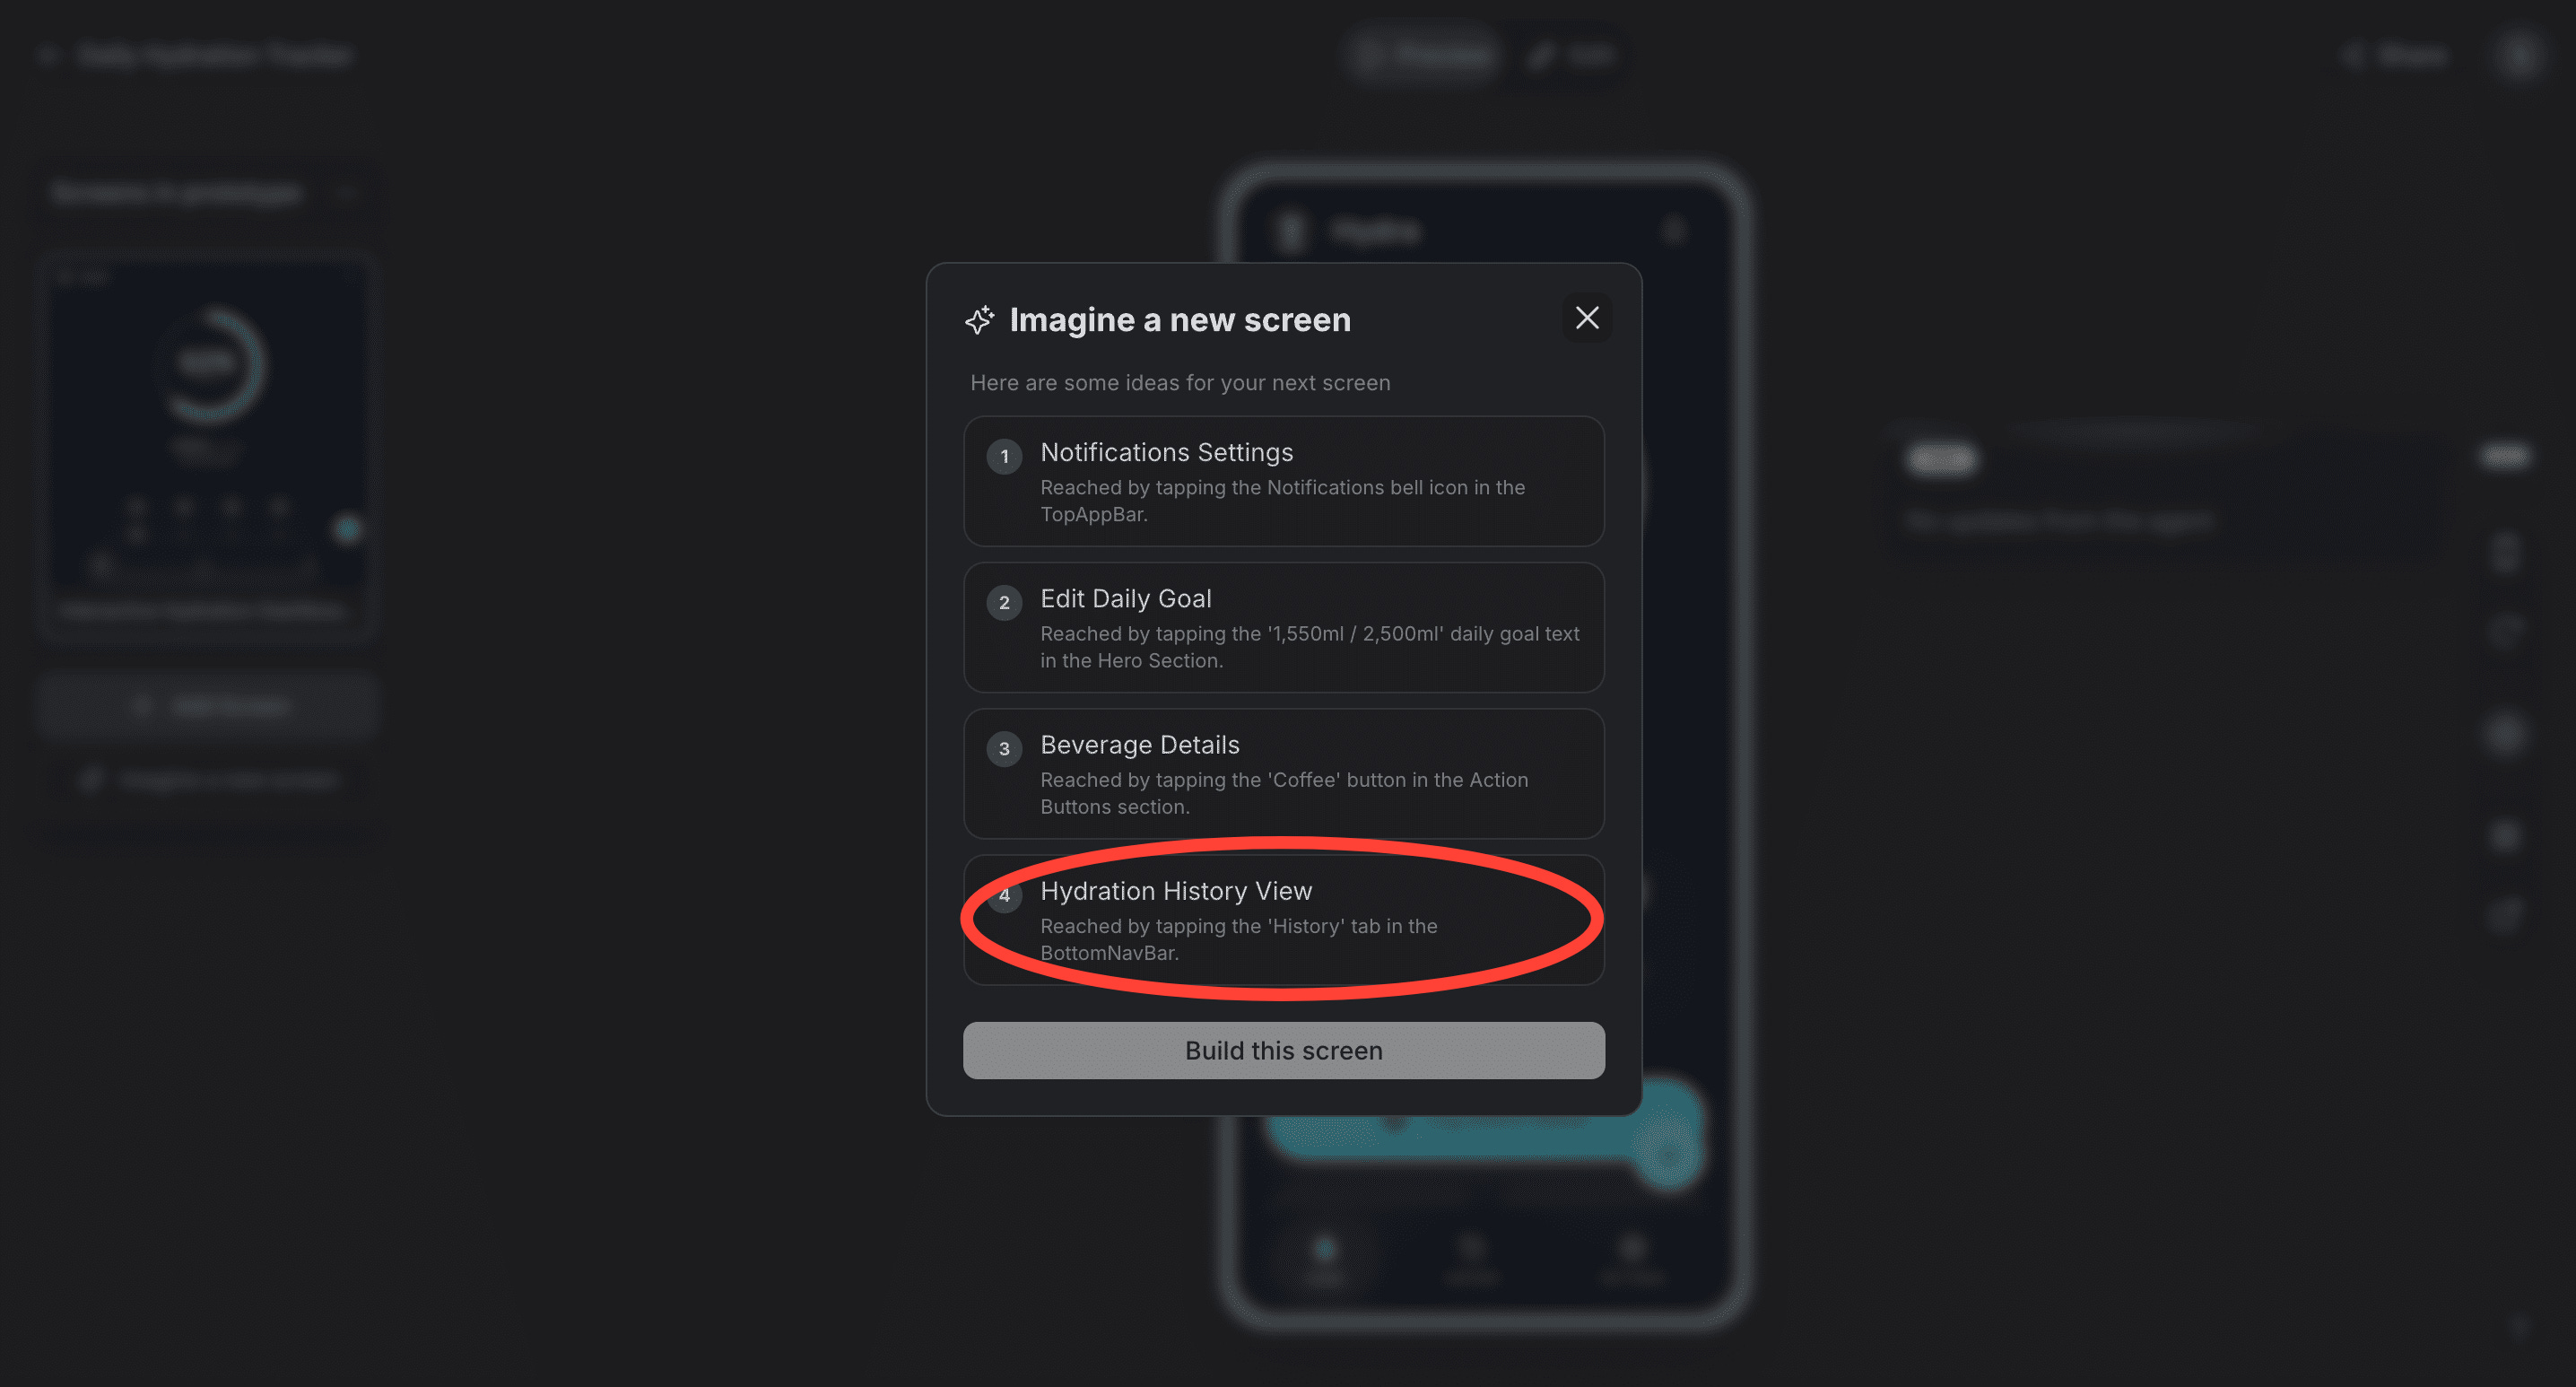
On the left, you’ll see a Screens in prototype tab. Click on Imagine a new screen. Stitch automatically suggests options for creating screens based on the available elements on your screen. We’ll select the Hydration History View tab.
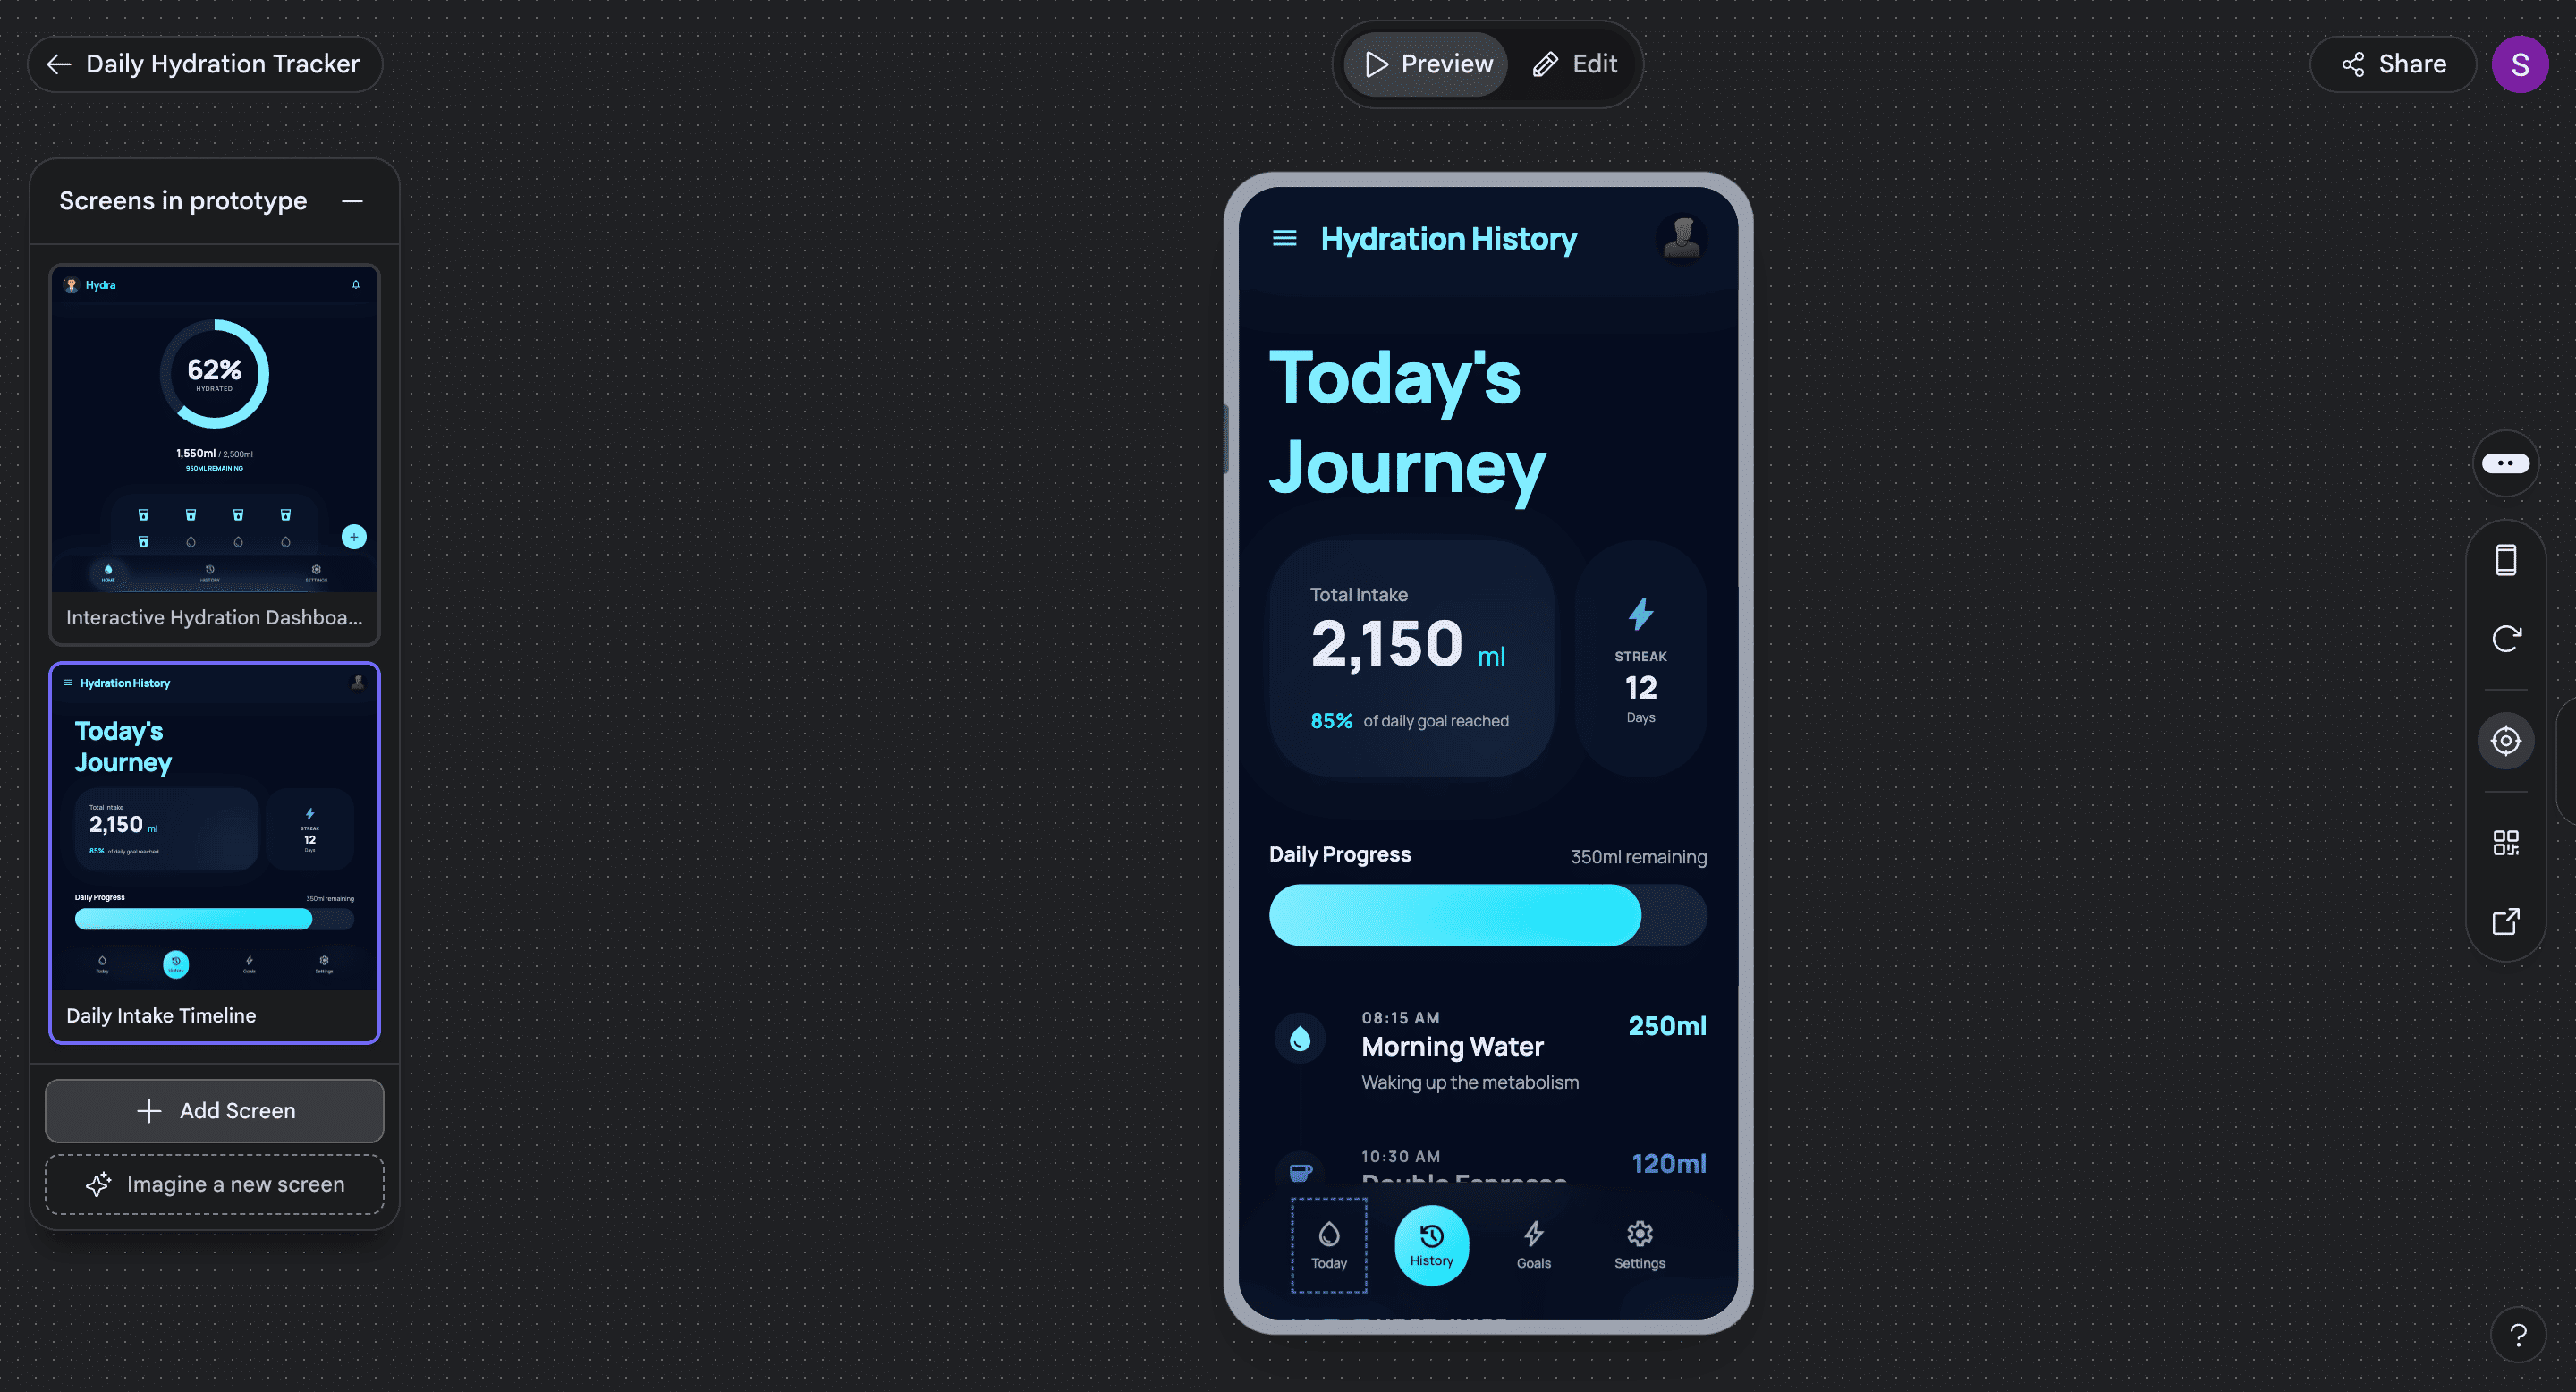
Here’s what the History tab looks like now.
Congratulations! Your base app screens are now ready.
Part 3: Developing the app.
Go back, select the screens you want to use to build the app, and click Export.
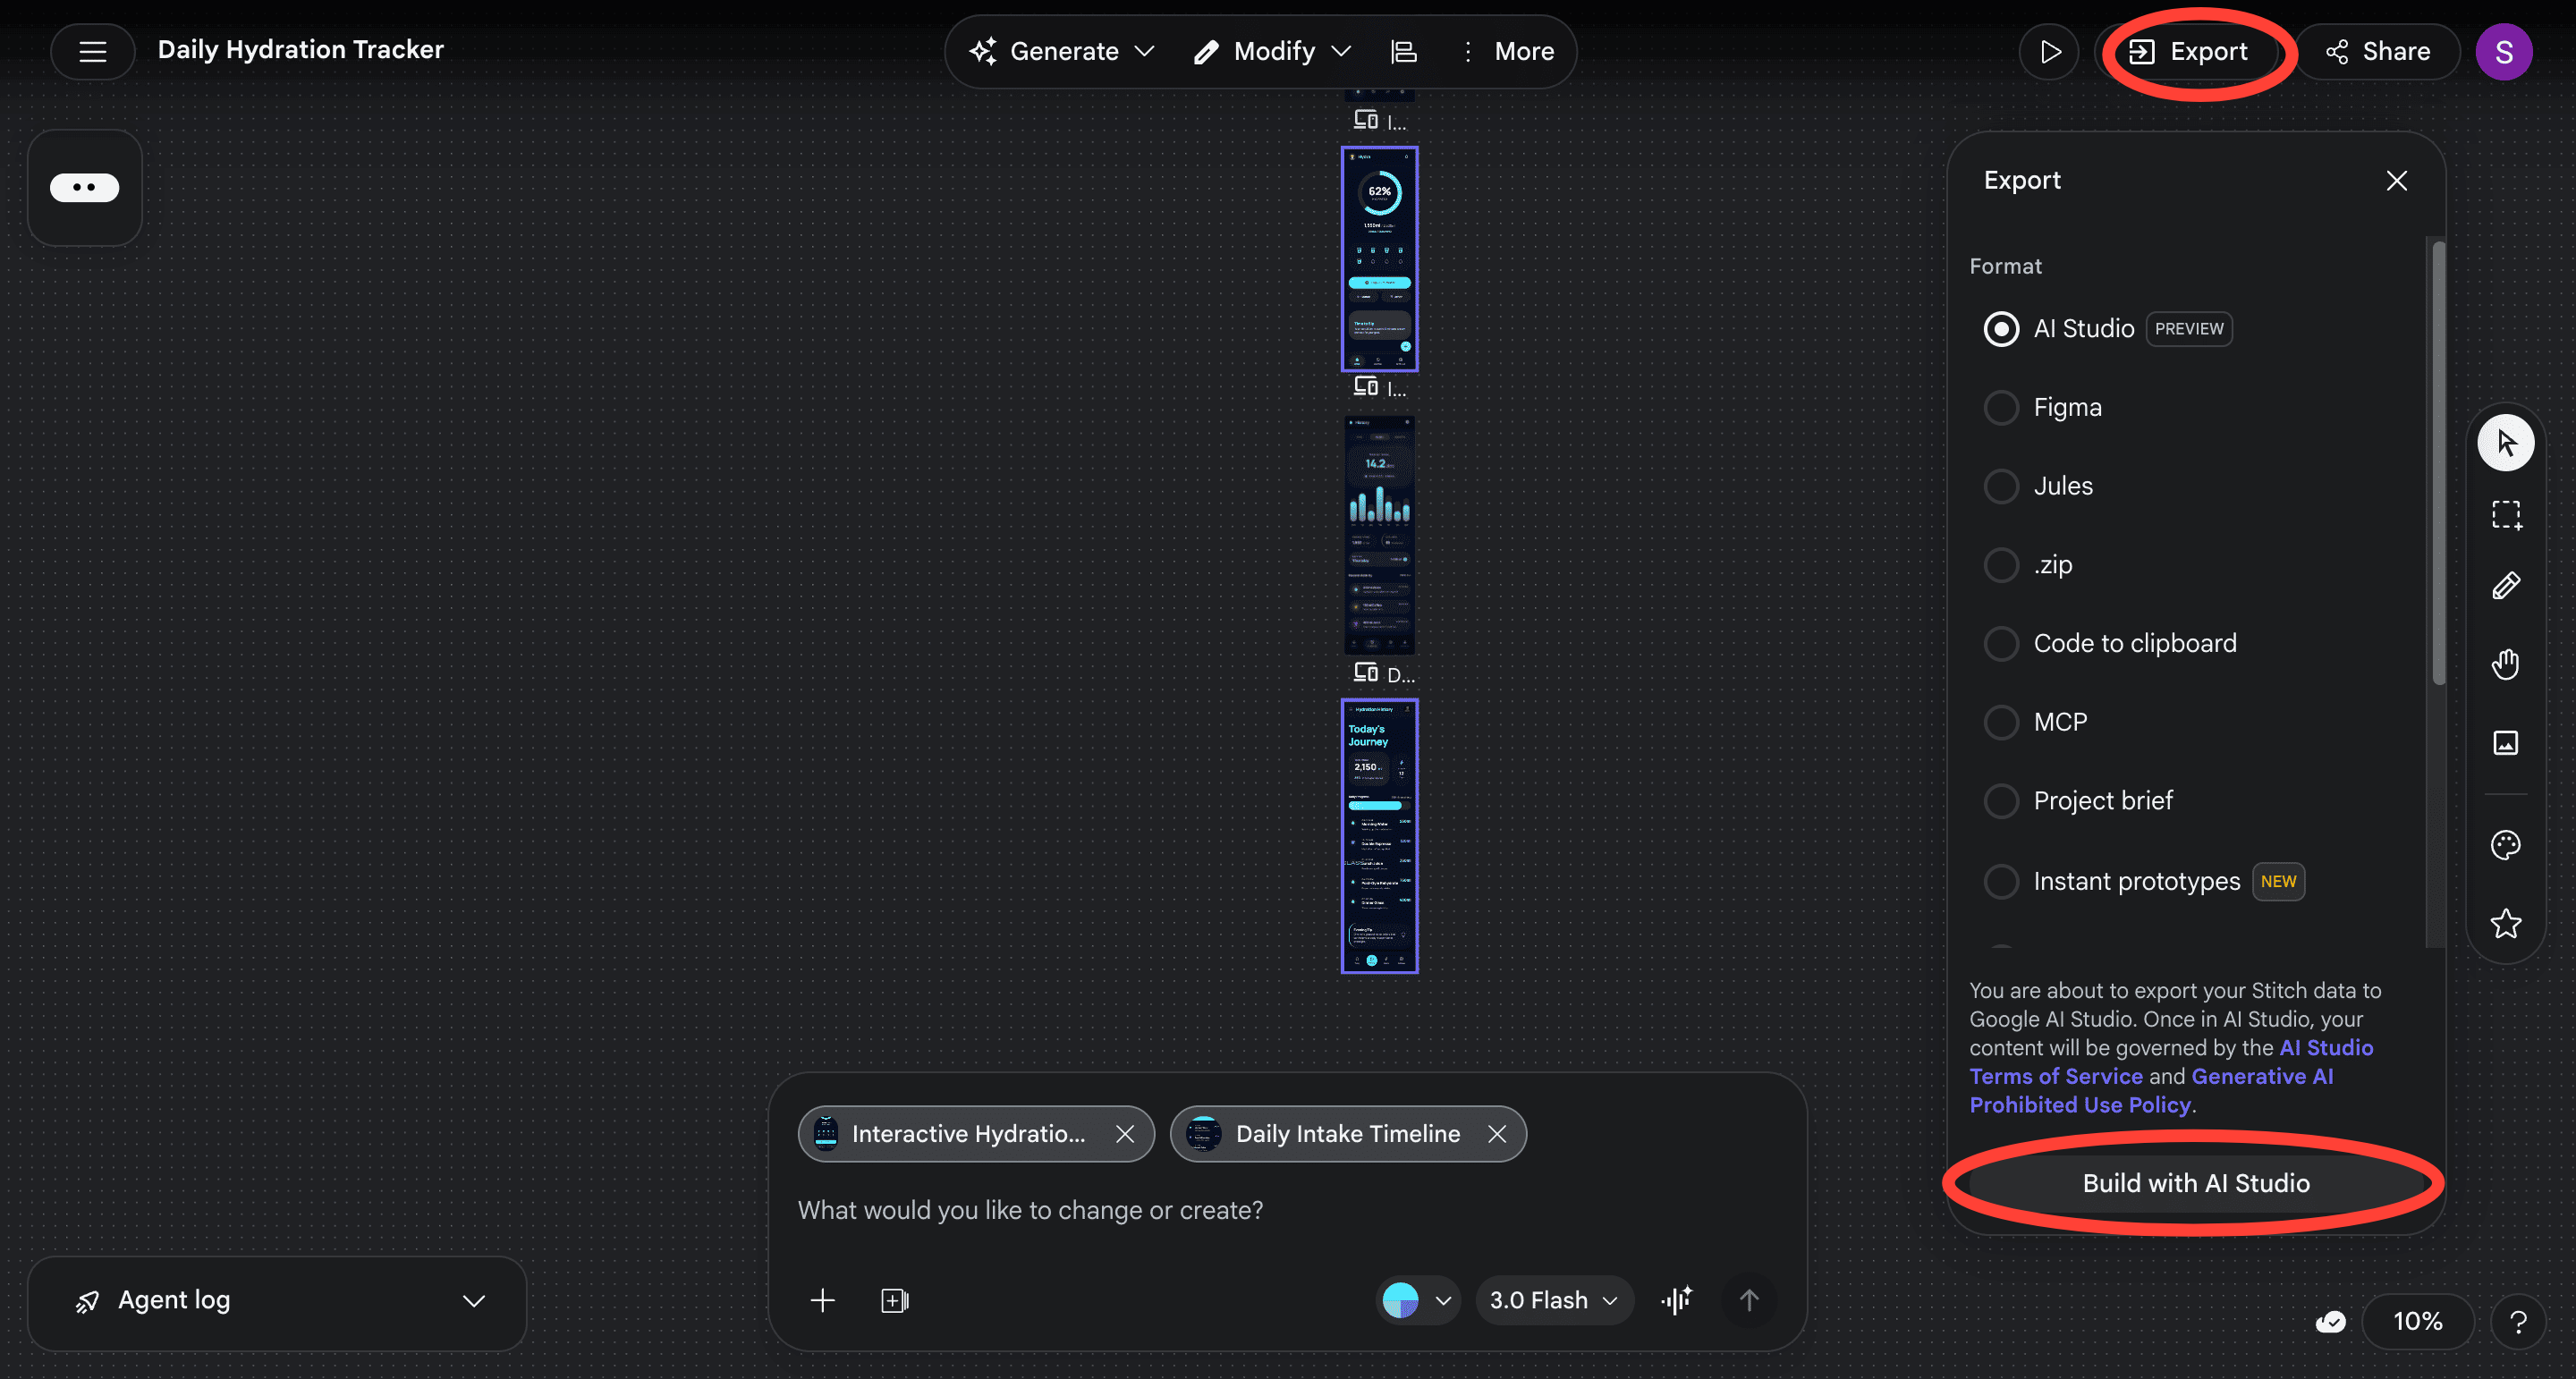
AI Studio (Google’s vibe coding app is selected by default). Now, click on Build with AI Studio.
Google AI Studio opens up with your prototype images. The tool will now build the app using these screens once you click Build.
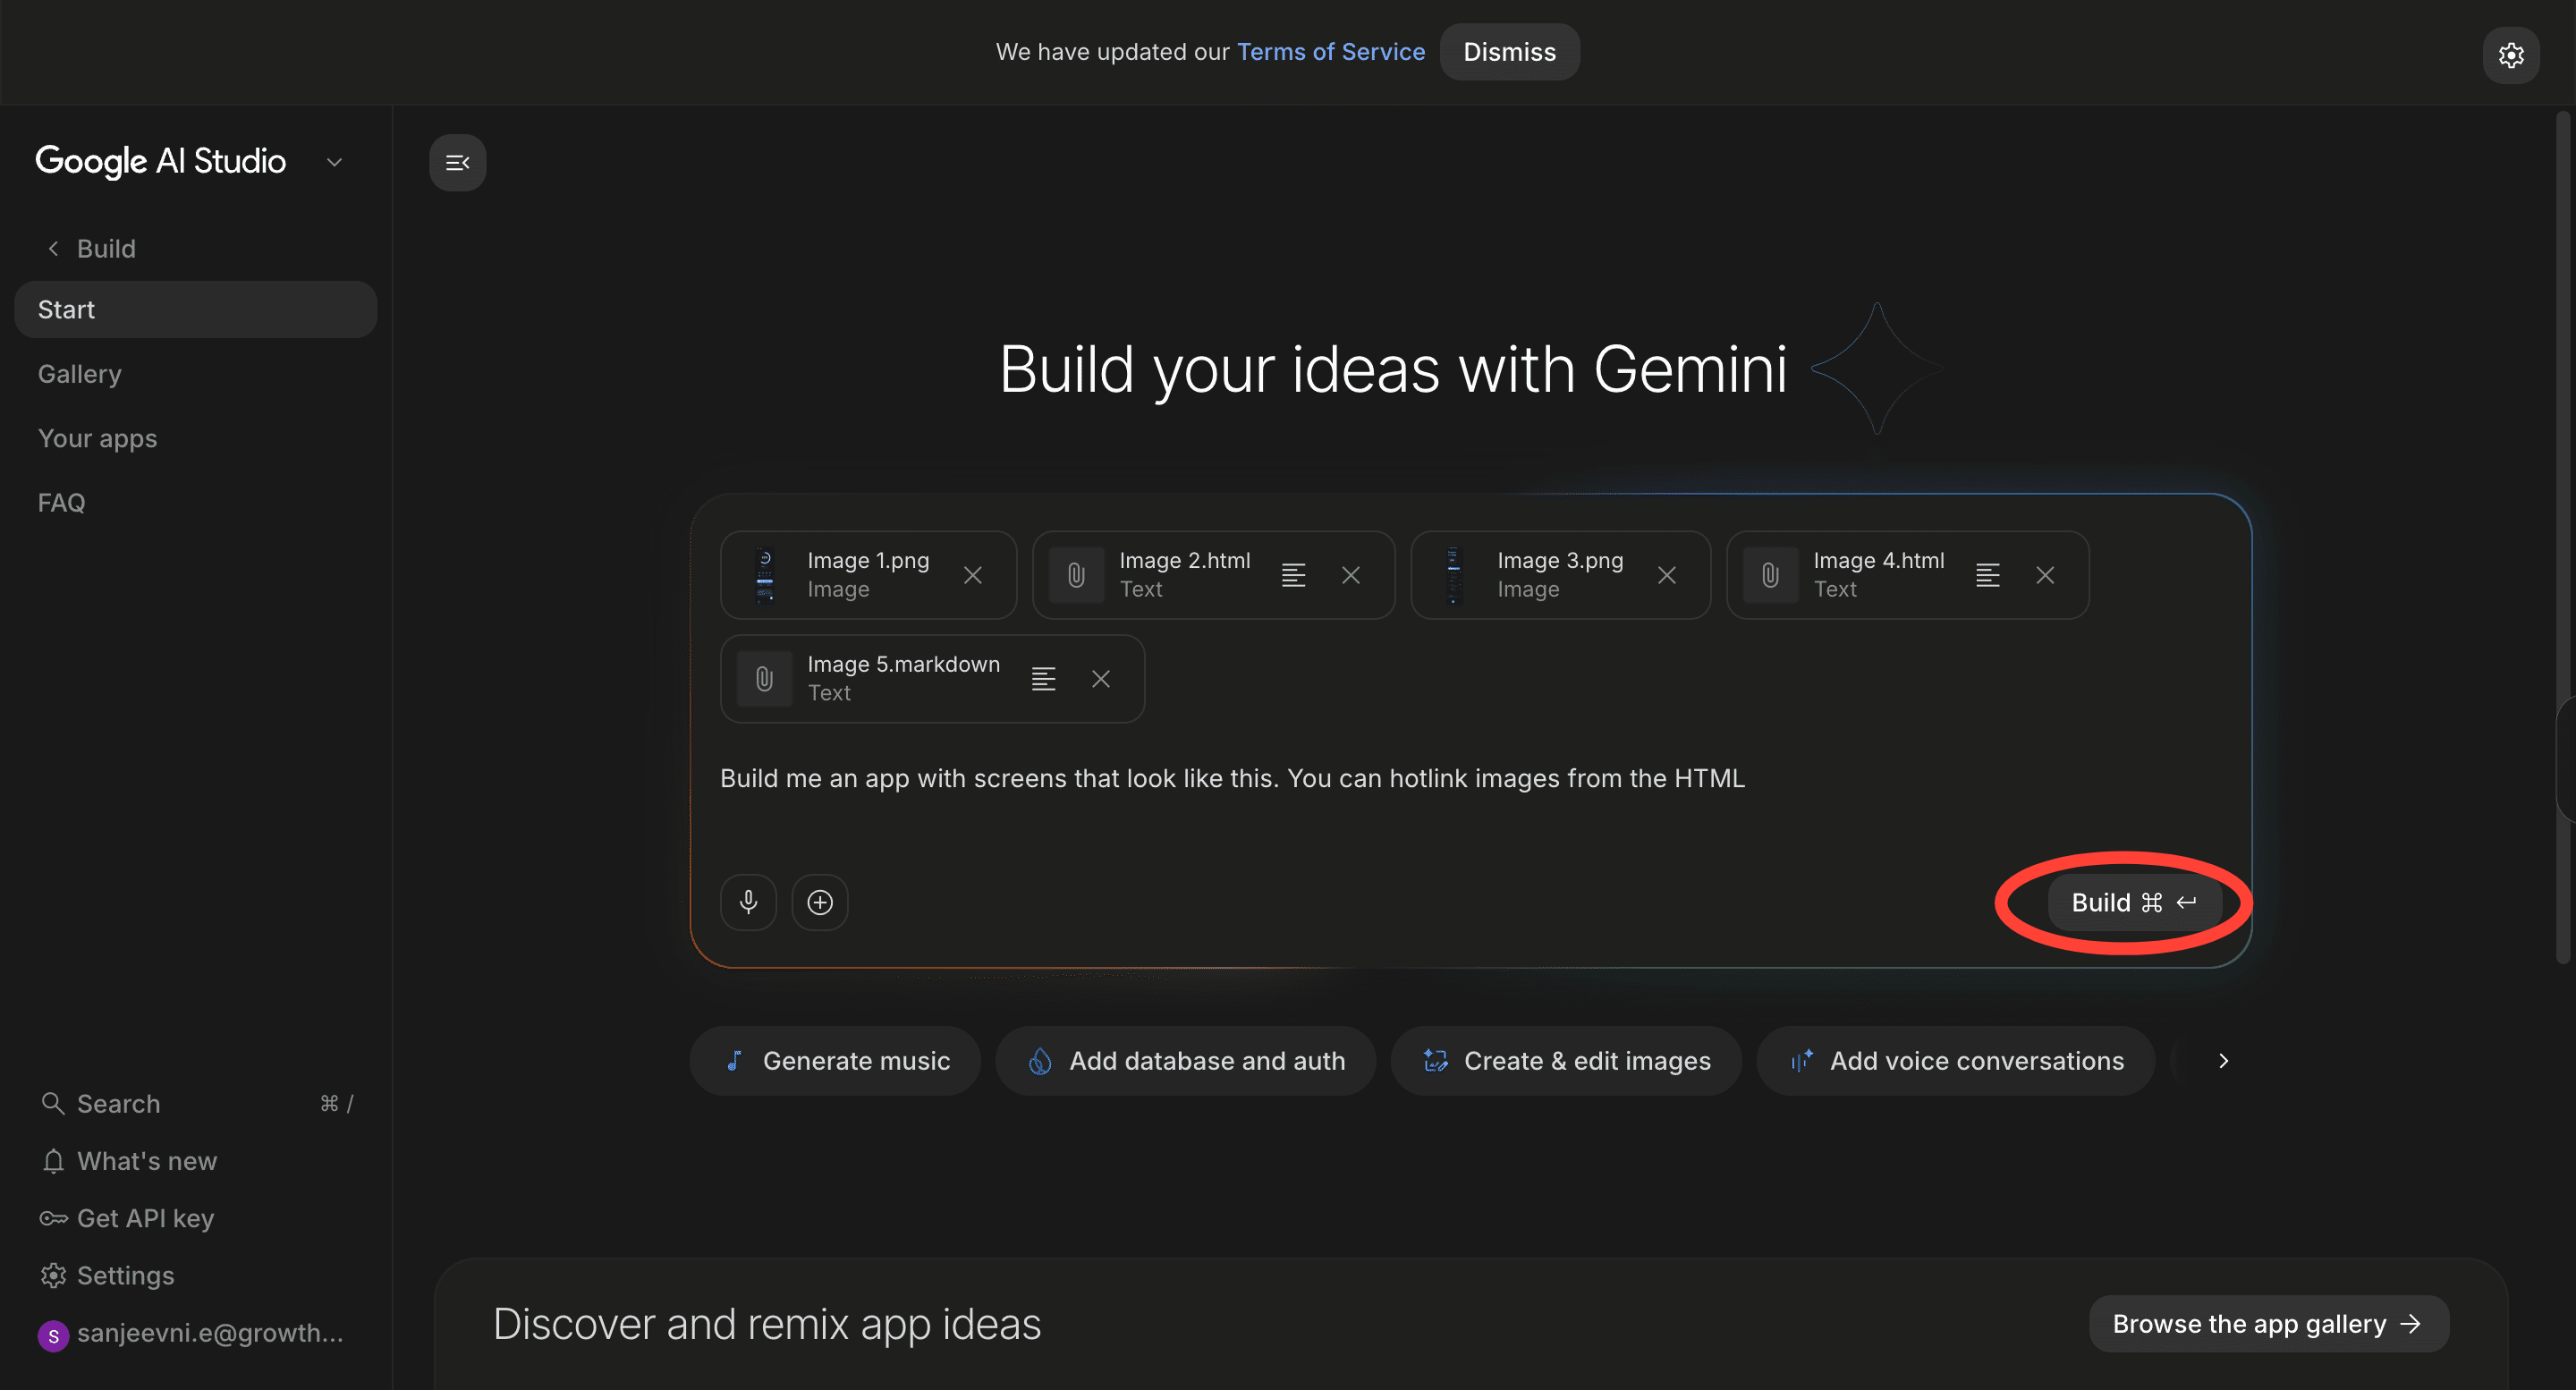
Once AI Studio builds out the app, you can make small changes to it, including interactions, back-end flows, and more, with simple prompts.
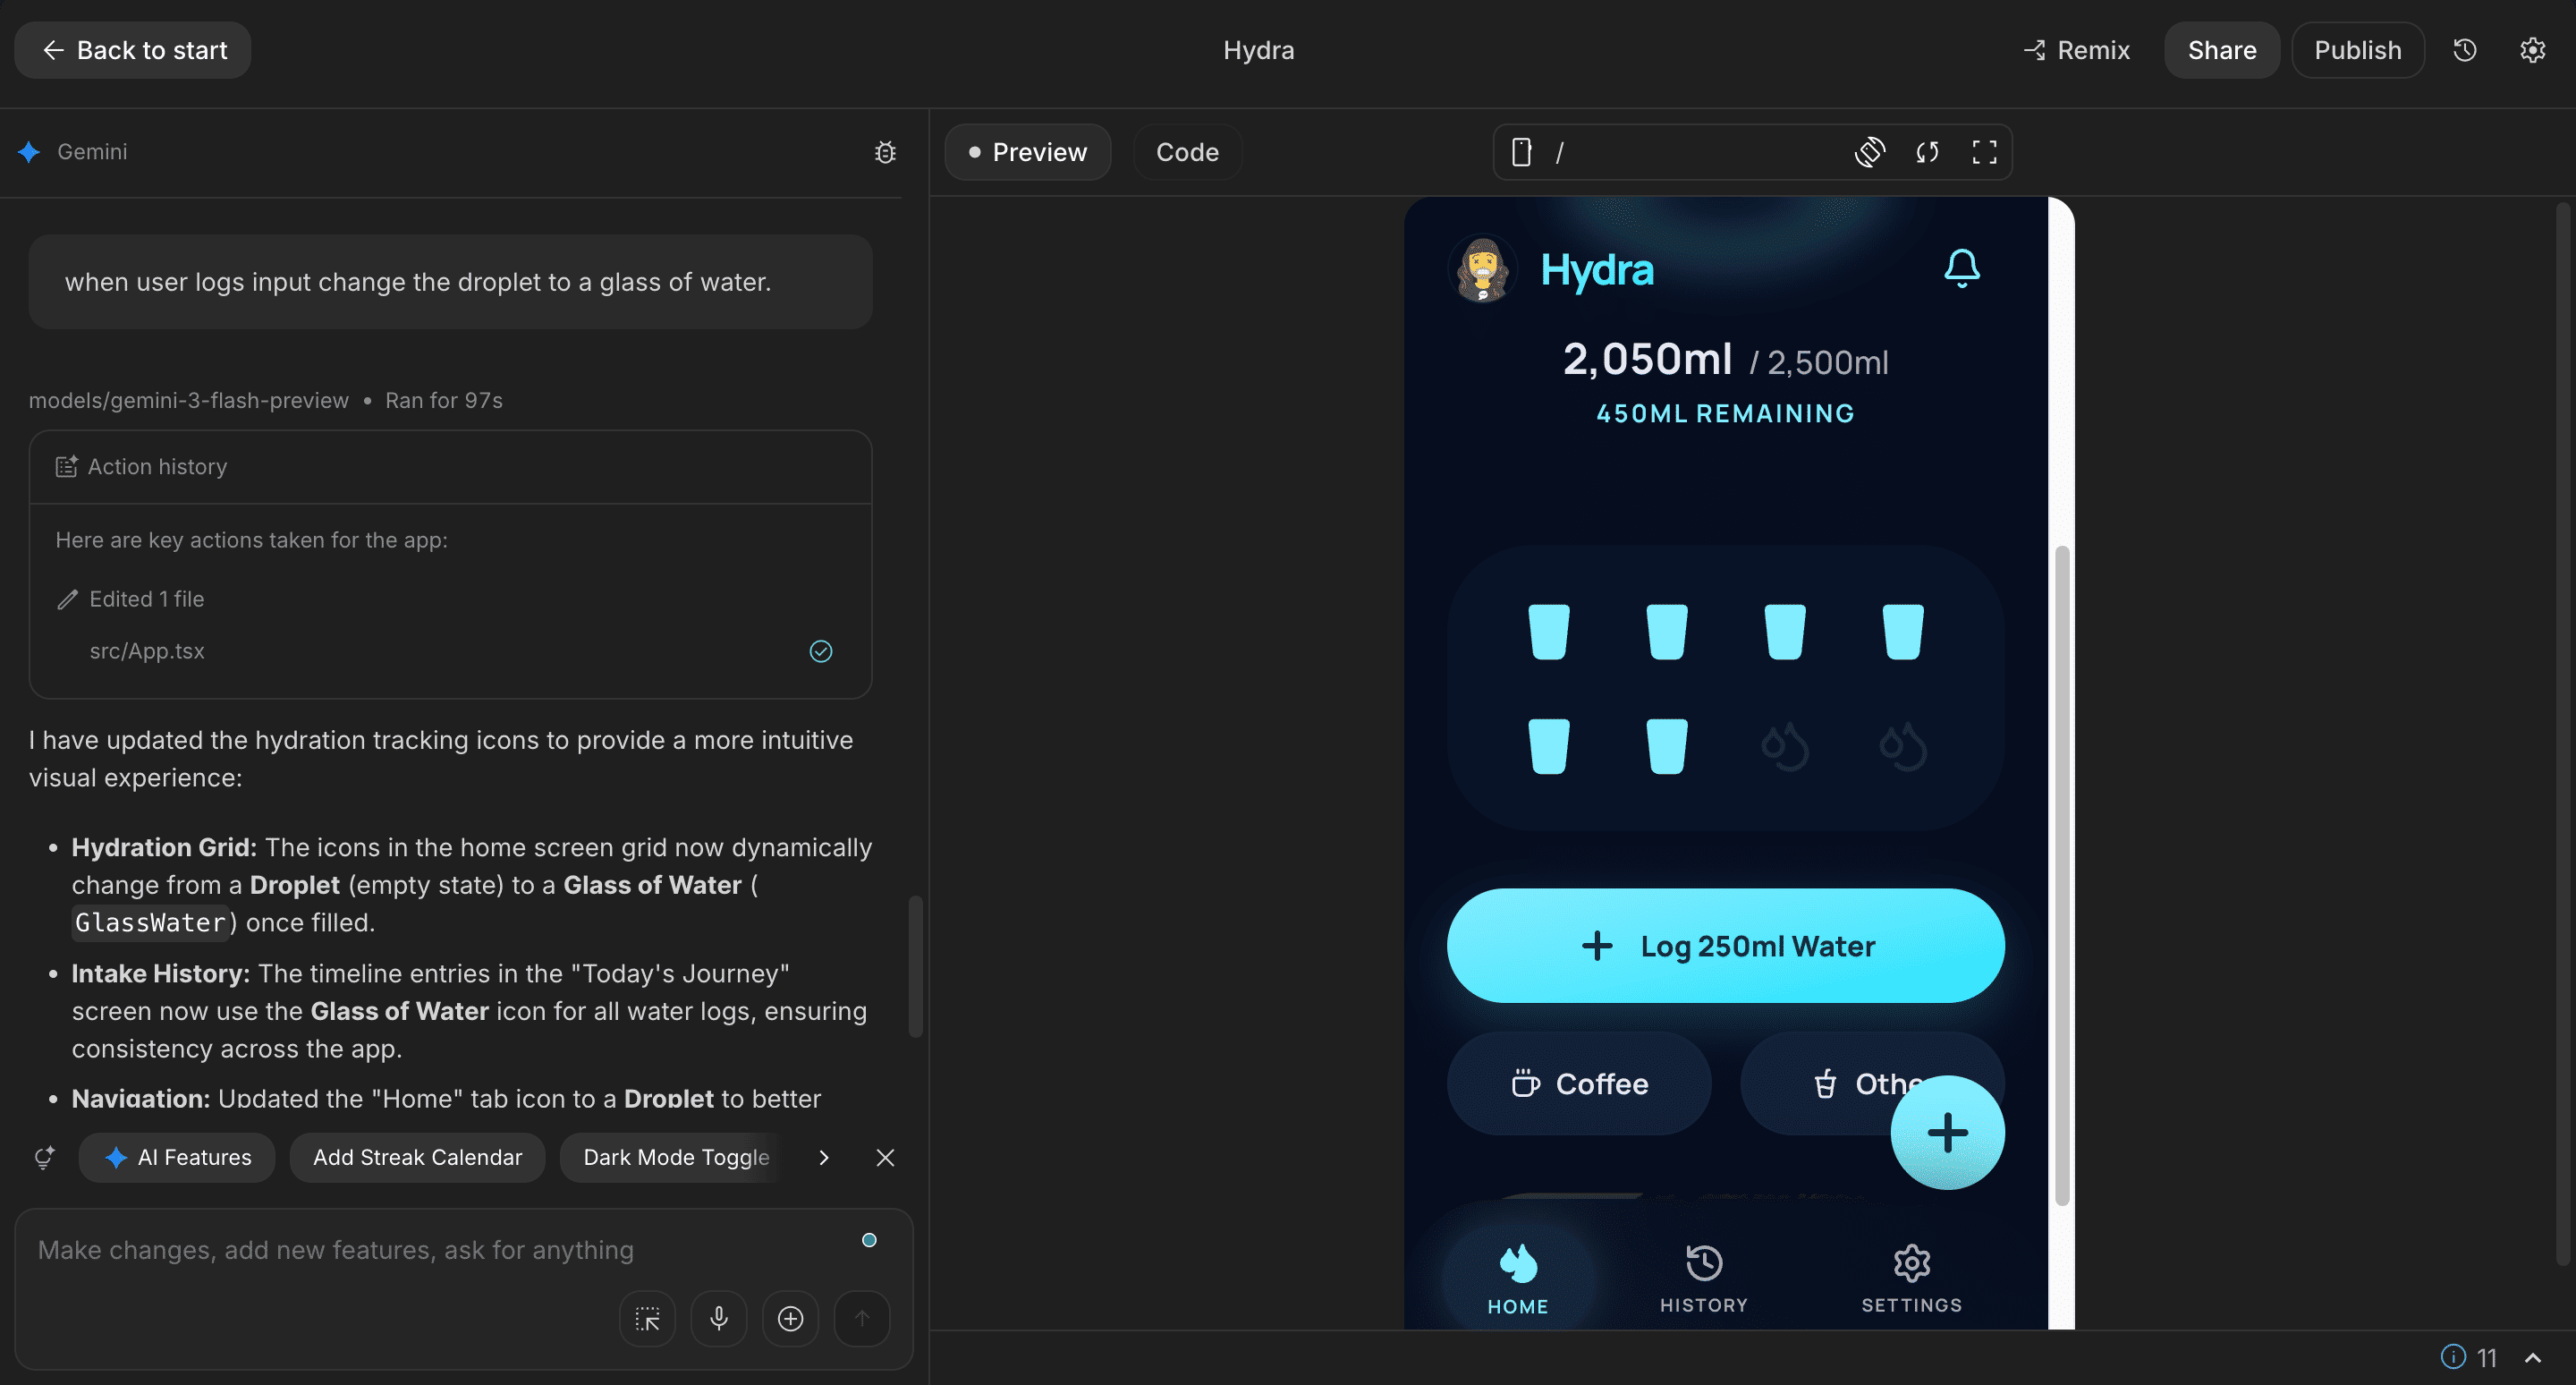
Here’s what my Hydra app looks like.
If you’ve been toying with the idea of building your own interactive app from scratch, this is a good place to start. The designing and coding are covered for you. All you need to do is imagine what your app can do to start building.
This was so fun! Looking forward to more.
Mine looks like this - https://ai.studio/apps/5c59e06d-2c06-4a65-98ba-a4a3c1e8bca5
I've added stats, mode toggle, etc..
a STITCH in time saves NINE